Skip to content
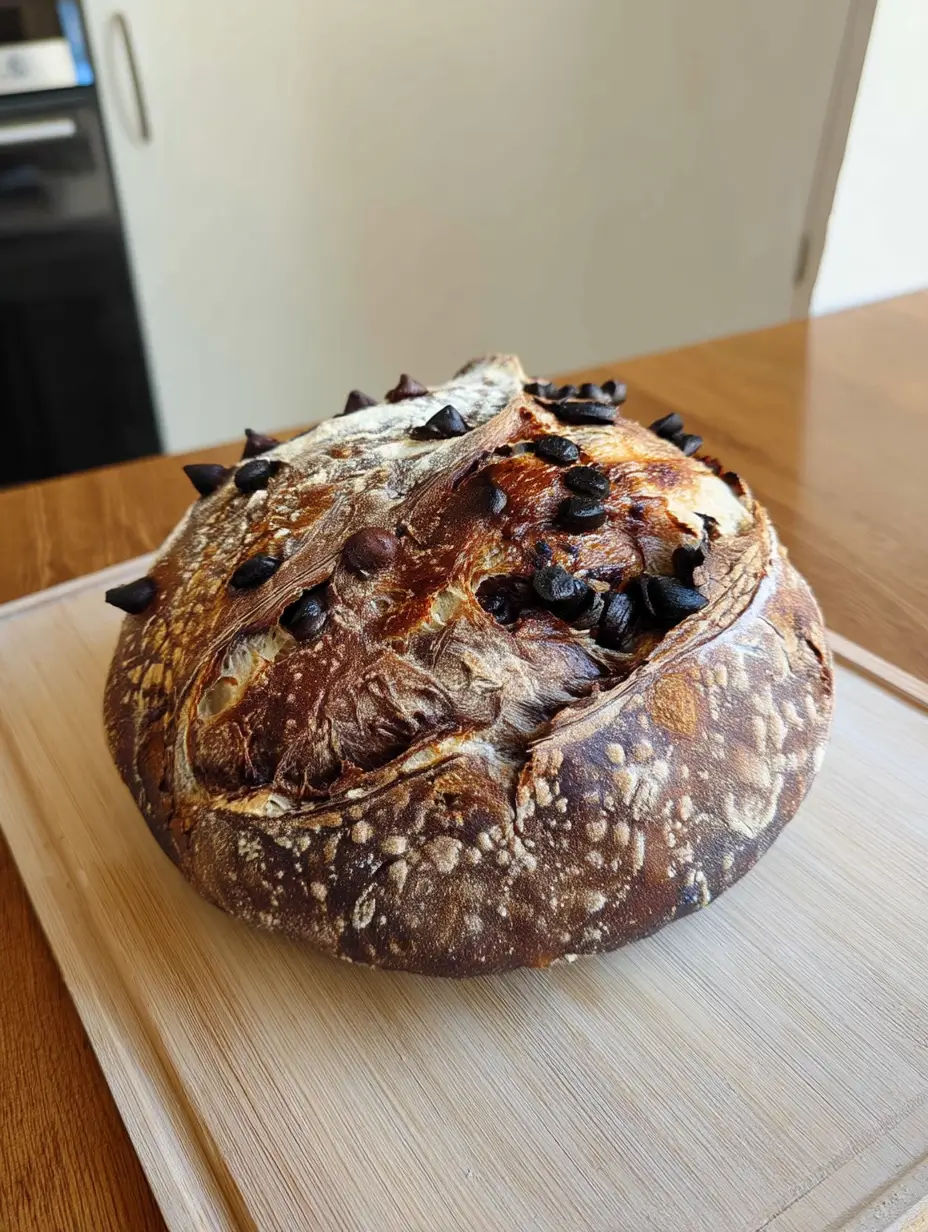
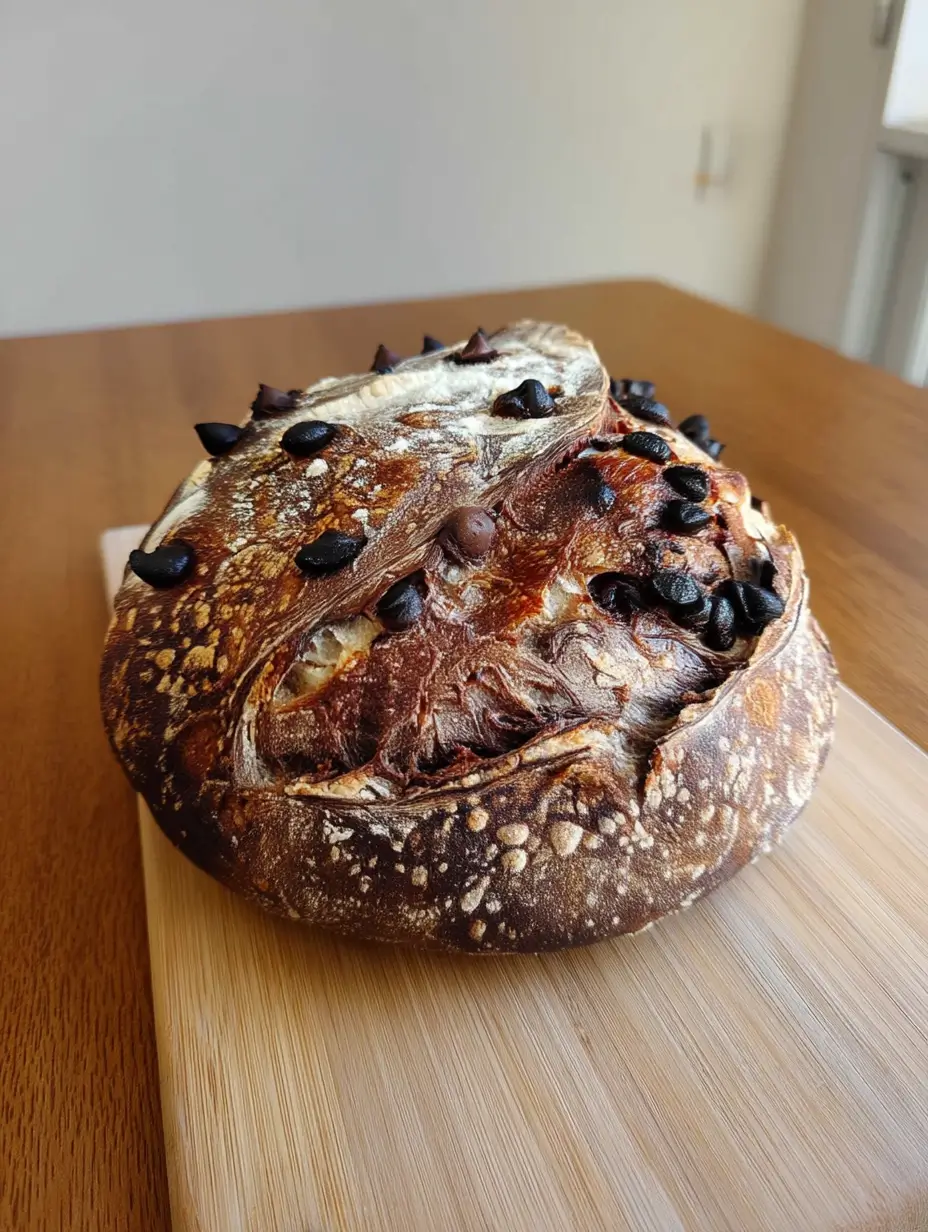
First things first—thank you for being here. Whether you’re a loyal sourdough devotee or just dipping your toes into the starter world, your presence means everything. And today, you’re in for a real treat. This isn’t just sourdough—it’s Chocolate Marbled Sourdough Bread. Think deep chocolate swirls, a perfectly caramelized crust, and that tangy chew we all love from a good sourdough loaf.
This recipe is a celebration of contrasts—bitter and sweet, soft and crusty, rustic and elegant. I promised you versatile, and here’s proof!
Want this chocolatey beauty sent straight to your inbox? Sign up below to receive the recipe by email and never miss a delicious moment!
Why You’ll Fall for This Chocolate Marbled Sourdough Bread
Chocolate marbled sourdough is a playful take on a traditional loaf. While the base remains your favorite sourdough formula, the addition of rich cocoa and melty chocolate chips creates an irresistible swirl that makes each slice a surprise.
You’ll love this recipe because:
-
It elevates your everyday sourdough with minimal effort.
-
It’s visually stunning—perfect for brunch spreads or gifting.
-
The flavor is anything but boring! Slightly tangy, deeply chocolatey, with hints of roasted nuttiness from the bake.
The taste? Imagine a sourdough loaf that met a brownie and fell in love. The chewy interior has swirls of dark chocolate and melty pockets, while the crust gives you that satisfying crunch. It’s indulgent, but grounded. A true balance.
Benefits of Chocolate Marbled Sourdough
-
A fun way to use up discard or revamp your sourdough routine.
-
Naturally fermented and gut-friendly.
-
Not too sweet—great as breakfast, snack, or dessert.
-
Makes your kitchen smell like a cozy chocolate bakery.
Ingredients You’ll Need
-
500g bread flour
-
350g water (room temp)
-
100g active sourdough starter
-
10g salt
-
30g unsweetened cocoa powder
-
100g semi-sweet chocolate chips or chopped dark chocolate
-
Optional: 10g honey or maple syrup for a touch of sweetness
Kitchen Tools You’ll Want
-
Mixing bowls
-
Bench scraper
-
Dutch oven or baking cloche
-
Banneton or bowl with towel for proofing
-
Scale (accuracy matters!)
-
Dough whisk or hands for mixing
-
Parchment paper
Additions & Substitutions
Want to get creative? Try:
-
White chocolate chips + orange zest for a festive twist.
-
Swirl in Nutella instead of chips for a gooier texture.
-
Add toasted hazelnuts for crunch and richness.
-
Use rye flour for a more rustic finish.
How to Make Chocolate Marbled Sourdough
-
Mix & Autolyse
In a large bowl, mix the flour and water. Let sit for 30 minutes. -
Add Starter & Salt
Add the active sourdough starter and salt. Mix until incorporated. -
First Fold
Stretch and fold the dough. Let rest for 30 minutes. -
Incorporate Cocoa & Chocolate
On your second or third fold, add cocoa powder and chocolate chips. Lightly fold to create a marbled effect—don’t overmix! -
Bulk Fermentation
Let the dough rise at room temperature for 4–6 hours, performing 2–3 more folds every 30–45 minutes. -
Shape & Cold Proof
Shape your loaf, place it in a banneton, and refrigerate overnight (or 12–16 hours). -
Bake
Preheat oven to 475°F (245°C) with your Dutch oven inside. Score and bake for 20 minutes with the lid on, then 20–25 minutes uncovered until dark brown. -
Cool
Let the loaf cool on a wire rack for at least an hour (tough, I know—but worth it!).
What to Serve It With
-
Slathered with almond butter and banana slices
-
Paired with mascarpone or ricotta and fresh berries
-
Lightly toasted with a drizzle of olive oil and flaky sea salt
-
Or, just eat it plain—it’s that good
Tips for Success
-
Don’t overwork the cocoa—fold just enough to marble it, not blend it.
-
Use quality chocolate for best results. Cheap chips may burn.
-
Hydration is key. If dough feels dry, add a touch more water.
-
Cold proofing helps develop deeper flavor and structure.
Storage Instructions
-
Store at room temperature in a paper bag or bread box for 2–3 days.
-
For longer storage, slice and freeze—toast straight from the freezer!
-
Avoid plastic bags; they make the crust soft and chewy.
Frequently Asked Questions About Chocolate Marbled Sourdough Bread
Can I use discard instead of active starter?
Not recommended—active starter is needed to properly ferment and rise the dough.
Is this bread sweet?
It’s subtly sweet from the chocolate and optional honey, but definitely still a bread, not dessert.
Can I make this gluten-free?
Gluten-free sourdough is a whole different game and requires a different flour ratio and technique.
Can I double the chocolate?
Absolutely—but keep an eye on baking time and crust darkening!
In Summary
This Chocolate Marbled Sourdough Bread is the best of both worlds: rich and indulgent, yet rooted in the hearty tradition of wild fermentation. It’s a recipe that feels fancy but is simple enough to make on a cozy Sunday morning. Try it once, and I guarantee it’ll be on repeat.
If you’re looking for more unique sourdough variations, or if you’ve got peaches on hand, check out my Peach & Thyme Focaccia or Grilled Peach Sourdough Toast—total summer stunners.
Have you baked this beauty? I’d love to see it! Leave a review, and tag your creations on Pinterest so we can all swoon together.
Nutritional Information (Approximate, per slice)
-
Calories: 180
-
Carbs: 32g
-
Protein: 5g
-
Fat: 5g
-
Fiber: 2g
-
Sugar: 6g
Happy baking—may your loaves rise tall and your chocolate always swirl just right.
Print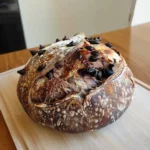
Chocolate Marbled Sourdough Bread
Description
This chocolate marbled sourdough bread is a rich and rustic twist on traditional sourdough. Swirled with unsweetened cocoa and studded with chocolate chips, it’s chewy, crusty, naturally fermented, and subtly sweet. Perfect for breakfast, snacking, or serving with fruit and cream.
Ingredients
- 500 g bread flour
- 350 g water (room temperature)
- 100 g active sourdough starter
- 10 g salt
- 30 g unsweetened cocoa powder
- 100 g semi-sweet chocolate chips or chopped dark chocolate
- Optional: 10g honey or maple syrup
Instructions
- Autolyse: In a large bowl, mix flour and water until no dry spots remain. Cover and let rest for 30 minutes.
- Add Starter & Salt: Add active sourdough starter and salt. Mix well until fully combined.
- First Fold: Stretch and fold the dough in the bowl. Let rest 30 minutes.
- Add Cocoa & Chocolate: Sprinkle in cocoa powder and chocolate chips during the second fold. Fold gently to create a marbled effect.
- Bulk Fermentation: Let dough rest for 4–6 hours, performing 2–3 additional folds every 30–45 minutes.
- Shape the Dough: Turn the dough onto a lightly floured surface, shape into a round, and place seam-side up in a banneton or proofing bowl.
- Cold Proof: Cover and refrigerate for 12–16 hours.
- Preheat Oven: Place your Dutch oven in the oven and preheat to 475°F (245°C) at least 30 minutes before baking.
- Score & Bake: Turn dough onto parchment, score the top, and transfer to the hot Dutch oven. Bake covered for 20 minutes, then uncovered for 20–25 minutes.
- Cool: Let cool completely on a wire rack before slicing.
Notes
For a more dramatic swirl, lightly fold the cocoa in only once or twice.
If using honey or syrup, mix it into the water at the beginning.
Use quality chocolate with at least 60% cocoa content for best results.
Store at room temperature for 2–3 days or freeze sliced for up to 2 months.
Let the bread cool fully before cutting to avoid a gummy texture.