Skip to content
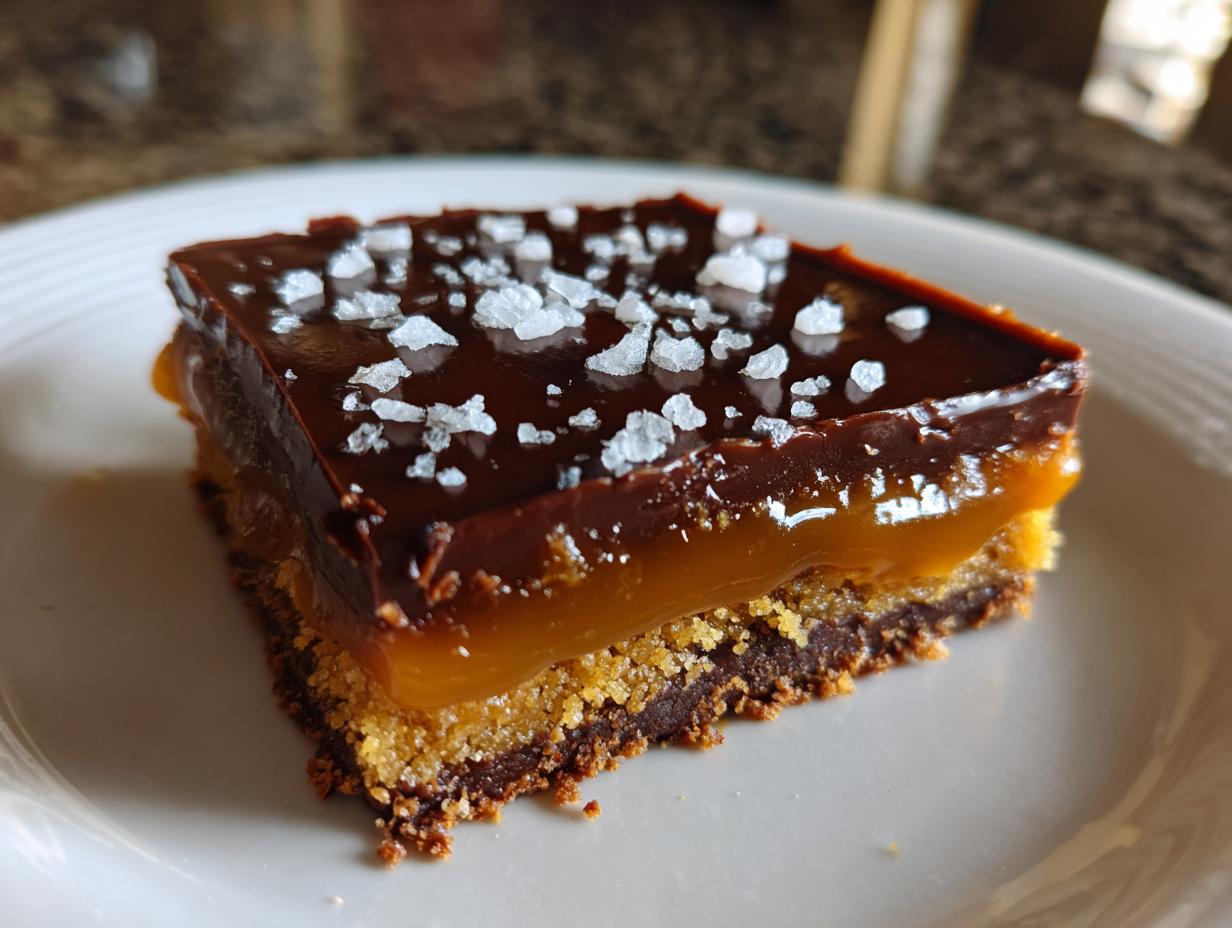
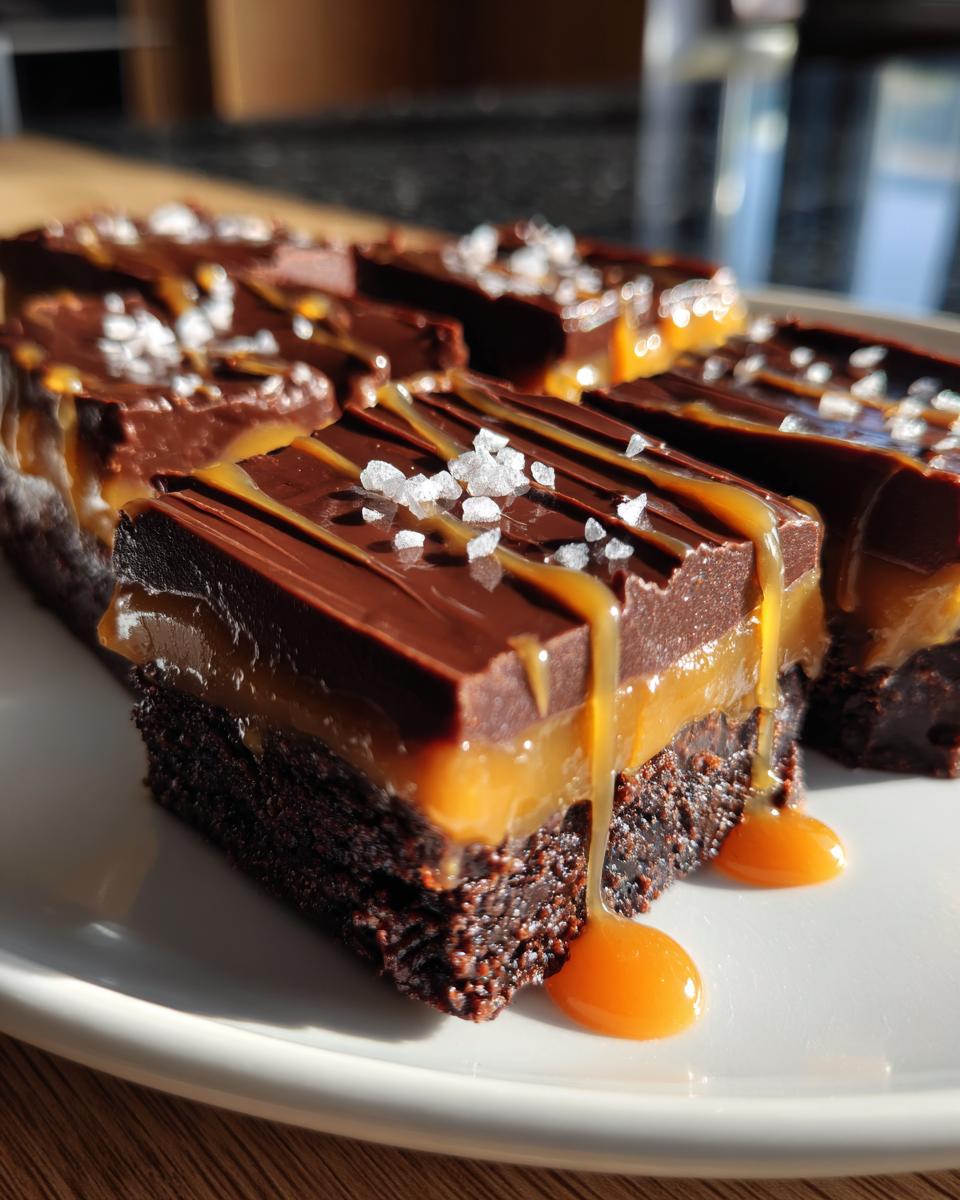
Have you ever taken one bite of something so delicious it stopped you mid-sentence? That’s exactly what happened the first time I tried homemade Chocolate Salted Caramel Bars at my friend’s potluck. The way the rich dark chocolate crumbled just right against the gooey salted caramel…oh man, I nearly forgot my own name! These bars are my weakness – the perfect marriage of sweet and salty that makes everyone beg for the recipe.
The best part? They’re ridiculously easy to whip up with simple ingredients you probably have right now. No fancy equipment needed – just one bowl, a baking pan, and about an hour of mostly hands-off time (though resisting the urge to eat all the caramel straight from the jar is the real challenge). Whether you’re treating yourself or impressing guests, these bars disappear faster than you can say “just one more piece.”
I’ve made dozens of batches since that first magical bite – tweaking, testing, and perfecting until I landed on this foolproof version. Trust me, once that caramel hits the warm chocolate, you’ll understand why these bars deserve a permanent spot in your dessert rotation.
Why You’ll Love These Chocolate Salted Caramel Bars
Oh honey, where do I even start? These bars are basically dessert magic wrapped in simplicity:
- Instant crowd-pleaser – Watch them vanish faster than socks in the laundry
- Four-ingredient crust that comes together faster than you can say “preheat”
- That salted caramel drizzle? Pure heaven with every gooey bite
- No fancy skills needed – If you can stir and press, you’re golden
- Perfect for last-minute cravings or impressing your mother-in-law
Seriously, these bars check all the boxes – rich, salty, sweet, and impossible to mess up. Your taste buds will thank you!
Ingredients for Chocolate Salted Caramel Bars
Listen, I know what you’re thinking – “This looks too good to be simple.” But trust me, the magic is in how these basic ingredients come together. Here’s what you’ll need to raid from your pantry:
- 1 cup all-purpose flour – Gluten-free 1:1 substitute works great too if that’s your jam
- 1/2 cup unsalted butter, melted – I’m team European-style for extra richness, but regular works too
- 1/4 cup packed brown sugar – The darker the better for that molasses depth
- 1/4 teaspoon salt – Just enough to make the crust sing
- 1 cup dark chocolate chips – Splurge on the good stuff here, about 60-70% cacao
- 1/2 cup caramel sauce – Store-bought is fine (I won’t tell), but homemade is next-level
- 1/2 teaspoon flaky sea salt – Maldon is my ride-or-die for that perfect salty crunch
See? Nothing crazy. Though fair warning – you might want to buy extra caramel because “quality testing” the sauce straight from the jar is basically mandatory. I speak from experience.
How to Make Chocolate Salted Caramel Bars
Alright, let’s get to the good stuff – transforming these simple ingredients into those dreamy, salty-sweet bars you’ve been craving. Don’t let the layers fool you; this is easier than folding a fitted sheet (and way more rewarding!). Follow these steps, and you’ll be the caramel bar hero in no time.
Step 1: Prepare the Crust
First things first – that buttery base that holds all the magic together. Grab a medium bowl and toss in your flour, melted butter, brown sugar, and salt. Mix it up until it looks like wet sand – you want all the flour incorporated, but don’t go overboard or the crust will get tough.
Now, here’s my pro tip: line your 8×8 baking pan with parchment paper, leaving some hanging over the sides. This little trick will save you so much grief later when you’re trying to get those perfect squares out. Press the crust mixture firmly into the pan – I mean business here, really pack it down with your fingers or the bottom of a measuring cup. You want it even and compact, about 1/4 inch thick all around. This isn’t the time to be gentle; a well-packed crust means clean slices later!
Step 2: Bake and Layer
Pop that crust into your preheated 350°F oven for about 15 minutes. You’ll know it’s ready when the edges just start turning golden and your kitchen smells like brown sugar heaven.
Melt your chocolate chips in a double boiler or (my lazy method) in the microwave in 30-second bursts, stirring between each. Watch it like a hawk – chocolate burns faster than my patience when someone interrupts my baking show binge. When it’s about 75% melted, take it off the heat and keep stirring. The residual heat will finish the job beautifully.
As soon as the crust comes out, pour that silky chocolate over top and spread it quick with an offset spatula or the back of a spoon. The warmth from the crust will help the chocolate spread easily – just don’t dilly dally or the chocolate will start setting up.
Step 3: Add Caramel and Chill
Now for the star of the show! If your caramel sauce is thick, warm it slightly so it drizzles nicely. Use a spoon to artfully (or haphazardly – no judgment here) zigzag the caramel over the chocolate layer. Then comes the magic sprinkle of flaky sea salt. Don’t skip this – it’s what takes these bars from “yum” to “OH MY GOODNESS WHERE HAVE YOU BEEN ALL MY LIFE.”
Here’s where patience comes in (the hardest part, I know). Pop the pan in the fridge for at least an hour to set up. I know, I know – waiting is torture when your kitchen smells this good. But trust me, trying to cut warm bars is a sticky mess you don’t want to deal with. When they’re properly chilled, use the parchment paper “handles” to lift them out, then slice with a sharp knife wiped clean between cuts for perfect edges.
Pro tip: if you can resist eating them all immediately (good luck with that), store any leftovers in an airtight container in the fridge. They’ll keep for about 5 days – not that they’ll last that long!
Tips for Perfect Chocolate Salted Caramel Bars
After making these bars more times than I can count (purely for “research,” of course), I’ve picked up some foolproof tricks:
- Warm your caramel slightly – Just 10 seconds in the microwave makes it drizzle like liquid gold instead of glopping
- Let the chocolate cool a touch before adding caramel to prevent bleeding (though honestly, messy bars still taste amazing)
- Use a hot knife for clean cuts – run it under hot water and wipe dry between slices
- Store between parchment layers in an airtight container to keep the caramel from sticking to everything
- Salt just before serving if making ahead – it keeps those flakes crunchy and pretty
Remember, even “imperfect” bars still disappear just as fast – the real secret is enjoying every gooey bite!
Variations for Chocolate Salted Caramel Bars
Listen, the classic version is perfection, but sometimes you gotta mix things up! Here are my favorite ways to play with this recipe when I’m feeling adventurous:
Nut lovers unite
Toss a handful of toasted pecans or walnuts into the crust mixture before baking. The crunch against that smooth caramel? Chef’s kiss! Or go wild and sprinkle chopped salted peanuts over the caramel layer – it’s like a grown-up take on a Snickers bar.
Chocolate switcheroo
Not a dark chocolate fan? Swap in milk chocolate chips for a sweeter treat, or go half-and-half with white chocolate for a pretty marbled effect. Just promise me you’ll still use good quality chocolate – those waxy chips won’t do justice to your beautiful caramel.
Extra gooey version
Who am I kidding – there’s no such thing as too much caramel. Double the caramel sauce (I won’t judge) or layer it like this: half under the chocolate, half on top. Warning: you’ll need extra napkins, but oh, the sticky deliciousness is worth it!
The beauty of these bars? They’re like your favorite jeans – perfect as-is, but fun to accessorize. Try one twist or combine them all – your kitchen, your rules!
Serving and Storing Chocolate Salted Caramel Bars
Here’s the best part – these bars are just as good straight from the fridge as they are at room temperature! I love serving them slightly chilled so the caramel has that perfect chew, but if you prefer softer chocolate, let them sit out for 10 minutes first. They’re heavenly with a cup of strong coffee to balance the sweetness, or crumbled over vanilla ice cream for next-level indulgence.
To keep them fresh (ha – as if they’ll last), store leftovers in an airtight container between parchment layers. They’ll keep beautifully in the fridge for up to 5 days… if you can resist eating them all in one sitting. For longer storage, freeze them whole – just thaw overnight in the fridge before serving.
Nutritional Information
Okay, let’s be real – we’re not eating these bars for their health benefits, but here’s the nutritional scoop per serving (because adulting means pretending we care about these things):
- Calories: 220 (worth every single one)
- Fat: 12g (mostly from the good stuff – butter and chocolate)
- Sugar: 18g (hello, caramel and chocolate!)
- Protein: 2g (hey, every gram counts)
Remember, these numbers are estimates – your exact amounts might vary depending on specific ingredients and whether you “accidentally” eat half the caramel sauce straight from the jar (again, speaking from experience here). But let’s be honest – nobody ever regretted eating one of these bars because of the nutrition facts!
Frequently Asked Questions
I’ve gotten so many questions about these bars over the years – here are the ones that pop up most often:
Can I use store-bought caramel sauce?
Absolutely! I won’t tell if you don’t. The beauty of this recipe is its flexibility – while homemade caramel is divine, a good-quality store-bought sauce works in a pinch. Just warm it slightly for easier drizzling.
How do I prevent my chocolate from seizing?
Oh honey, we’ve all been there! The key is keeping water away from melting chocolate (it causes that grainy texture). Make sure your bowl and tools are completely dry. If disaster strikes, add a teaspoon of vegetable oil and stir gently to bring it back.
Can I make these gluten-free?
You bet! Simply swap the all-purpose flour for your favorite 1:1 gluten-free blend. The crust might be slightly more crumbly, but the flavor will still be amazing.
Why is my caramel sinking into the chocolate?
This usually happens if the chocolate layer is too warm when you add the caramel. Let the chocolate set for about 5 minutes first, and make sure your caramel isn’t too runny.
Try this recipe and share your results in the comments! You can also find more delicious recipes on our Pinterest page.
Print
27 Decadent Chocolate Salted Caramel Bars You’ll Crave
- Total Time: 1 hour 30 minutes
- Yield: 12 bars 1x
- Diet: Vegetarian
Description
Rich chocolate bars with a layer of salted caramel for a perfect balance of sweet and salty flavors.
Ingredients
- 1 cup all-purpose flour
- 1/2 cup unsalted butter, melted
- 1/4 cup brown sugar
- 1/4 teaspoon salt
- 1 cup dark chocolate chips
- 1/2 cup caramel sauce
- 1/2 teaspoon sea salt
Instructions
- Preheat oven to 350°F (175°C).
- Mix flour, melted butter, brown sugar, and salt in a bowl.
- Press the mixture into a lined baking pan.
- Bake for 15 minutes until lightly golden.
- Melt chocolate chips and spread over the baked crust.
- Drizzle caramel sauce on top and sprinkle with sea salt.
- Chill for 1 hour before cutting into bars.
Notes
- Use high-quality chocolate for best results.
- Let the bars cool completely before slicing.
- Store in an airtight container for up to 5 days.
- Prep Time: 15 minutes
- Cook Time: 15 minutes
- Category: Dessert
- Method: Baking
- Cuisine: American
Nutrition
- Serving Size: 1 bar
- Calories: 220
- Sugar: 18g
- Sodium: 180mg
- Fat: 12g
- Saturated Fat: 7g
- Unsaturated Fat: 4g
- Trans Fat: 0g
- Carbohydrates: 26g
- Fiber: 1g
- Protein: 2g
- Cholesterol: 20mg