Skip to content
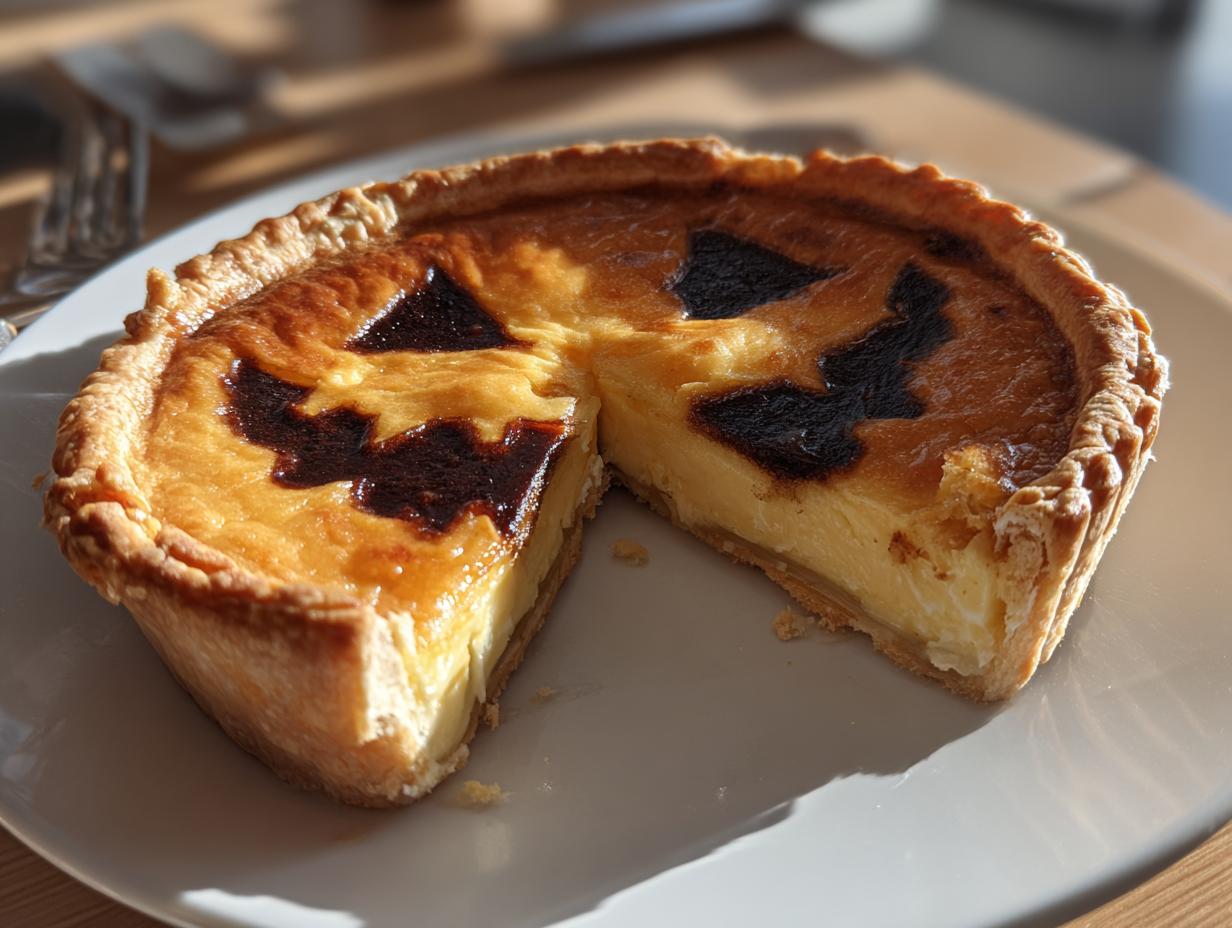
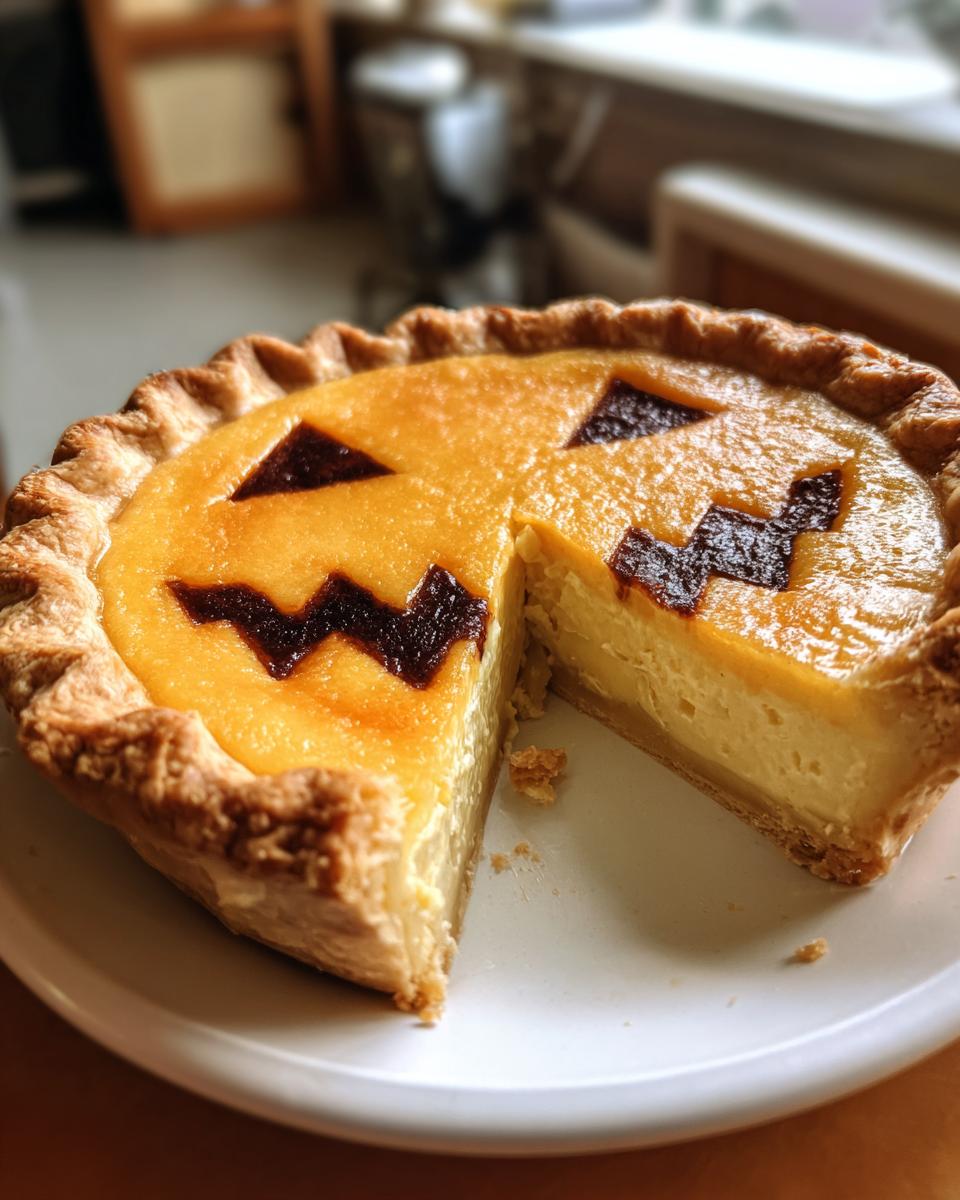
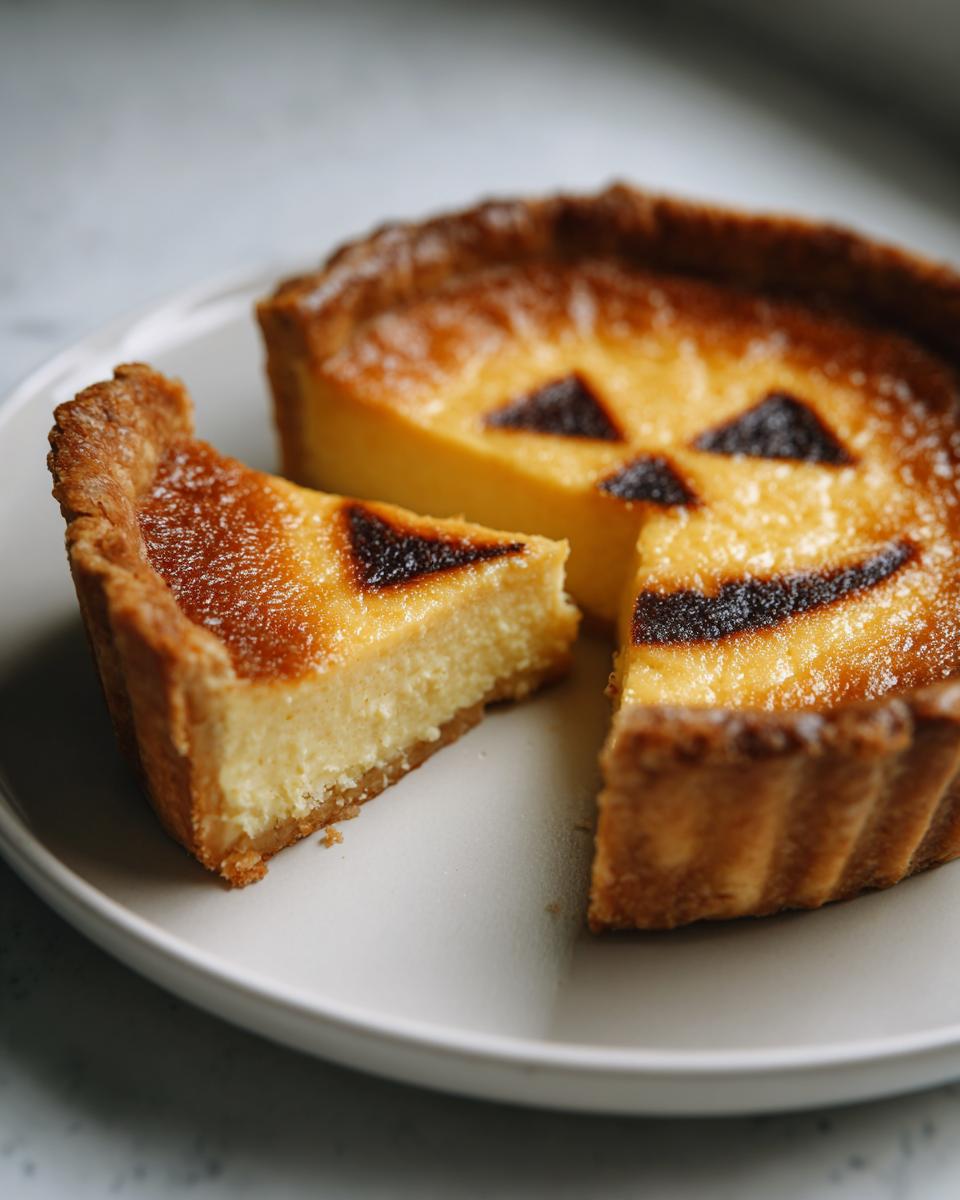
Every Halloween, my kitchen turns into a mad scientist’s lab—bubbling potions (okay, maybe just pie filling), eerie laughter (probably mine), and the star of the show: Creepy Face Pie. There’s something hilariously spooky about slicing into a dessert that stares back at you with a wicked grin. Trust me, nothing gets a bigger reaction at parties!
I stumbled onto this recipe years ago when my attempt at a “cute” jack-o’-lantern pie turned into a lopsided, slightly deranged masterpiece. The kids loved it so much, it became our annual tradition. Now, I lean into the chaos—wonky eyes, jagged smiles, the works. The best part? It’s dead simple. A smooth vanilla-cinnamon filling holds up any design you dream up, whether you freehand a ghostly face or cheat with a stencil (no judgment here). Just wait for the gasps when you unveil this edible nightmare!
Ingredients for Creepy Face Pie
Gather these pantry staples—plus a few spooky extras—to bring your edible nightmare to life:
- 1 premade pie crust (the frozen kind works perfectly, or use refrigerated dough)
- 1 cup packed dark brown sugar (trust me, the molasses depth makes it creepier)
- 3 large eggs, room temperature (cold eggs make the filling lumpy—learned that the hard way!)
- 1 cup heavy cream (don’t skimp—this gives that velvety “ghostly” texture)
- 1 tsp vanilla extract (the real stuff, not imitation—it’s worth it)
- 1/2 tsp cinnamon + 1/4 tsp nutmeg (warming spices that whisper “Halloween”)
- 1 tbsp softened butter (for greasing the pie dish so your crust doesn’t stick)
- Black gel food coloring (gel works better than liquid—no runny zombie tears!)
Pro tip: If you’re feeling extra festive, grab some red coloring too for “bloody” accents. Just saying—my 2019 vampire version still haunts my Instagram.
How to Make Creepy Face Pie
Ready to turn your kitchen into a Halloween masterpiece factory? This pie comes together so easily—just follow these steps, and you’ll have guests screaming (with delight!) in no time.
Preparing the Pie Filling
First, grab a big mixing bowl—this is where the magic happens. Whisk together the sugar, eggs, and cream until they’re completely smooth. I like to pretend I’m stirring a witch’s cauldron here (cackling optional but encouraged). Once that’s silky, add the vanilla, cinnamon, and nutmeg. Keep whisking! You want zero lumps, or your pie filling will look more “zombie skin” than “hauntingly smooth.”
Now, here’s my secret: let this mixture sit for 5 minutes. The sugar needs time to dissolve fully. I use this break to preheat the oven to 350°F and butter my pie dish like I’m preparing a sacrificial altar (too dark?).
Baking and Decorating
Roll out your crust and press it into the dish—don’t worry about perfection. A few cracks just add character (future ghostly fissures!). Pour in the filling, then bake for 40-45 minutes. The pie is done when the edges are golden and the center barely jiggles—like a ghost caught in headlights.
Critical step: Let it cool completely! I once got impatient and decorated a warm pie… let’s just say my “scary face” melted into something only Cthulhu would recognize. Once chilled, grab your food coloring and a small paintbrush or toothpick. Pro tip: sketch the face lightly with a toothpick first, then fill in with gel coloring. For super-clean lines, use a paper stencil—I’ve traced everything from classic jack-o’-lanterns to my cat’s grumpiest expression.
Chill again for an hour before serving. Watching people hesitate before taking the first slice? That’s how you know you’ve succeeded.
Tips for the Perfect Creepy Face Pie
After years of trial and (hilarious) error, I’ve nailed down the tricks to make your pie the talk of the graveyard—er, party. These are my non-negotiables:
- Chill everything twice: First the unbaked crust (15 minutes in the freezer prevents shrinking!), then the finished pie before decorating. Cold pie = clean, crisp face lines. Warm pie = horror-show smears.
- Stencil smarter, not harder: Cookie cutters make great guides—press lightly with a toothpick to outline shapes. Or print a face template, cut it out, and dust with powdered sugar for a ghostly “negative space” effect.
- Serve it slightly chilled: The filling holds its shape better when cold, and that spine-tingling “slicing into a face” moment works best when the pie’s firm. Leftovers? Cover loosely—unless you want your fridge to look like a crime scene from food color transfer.
- Embrace imperfections: Crooked smiles, uneven eyes—they add character! My 2020 “quarantine zombie” pie (complete with lopsided groan) still gets requested every year.
Bonus tip: If using liquid food coloring, blot the brush on a paper towel first. Learned that after creating what my nephew called “the pie that wept black tears.” (He ate three slices anyway.)
Creepy Face Pie Variations
Once you’ve mastered the classic version, it’s time to play mad scientist with flavors! Here are my favorite twists—because why should ghosts and goblins have all the fun?
Pumpkin Spice Specter: Swap the cinnamon and nutmeg for 1 1/2 tsp pumpkin pie spice. The earthy flavor pairs perfectly with the “buried alive” aesthetic. For extra drama, use orange gel coloring to pipe “stitches” across the face.
Chocolate Ghoul: Replace 1/4 cup of sugar with cocoa powder for a deep, haunted flavor. Pro tip: Add a pinch of instant espresso powder to intensify the chocolate—your werewolf guests will howl for seconds. Decorate with white chocolate “ectoplasm” drizzles.
Boo-zy Adult Version: For parties, stir 2 tbsp bourbon or spiced rum into the filling. The alcohol bakes out, leaving just a warm, mysterious kick. (Label it clearly—no tricking tiny superheroes and witches!)
Vegan Nightmare: Use coconut cream instead of dairy, flax eggs (1 tbsp ground flax + 3 tbsp water per egg), and a store-bought vegan crust. The filling sets slightly softer, so chill it overnight before decorating with black sesame paste “stitches.”
My Halloween-loving neighbor once added matcha powder for a green-skinned monster effect (terrifyingly delicious), while her kid swears by swirling in raspberry jam “blood.” The beauty? This pie forgives all your creepy experiments—as long as the face looks sufficiently unsettling!
Serving and Storing Creepy Face Pie
Okay, confession time—I’ve absolutely ruined the “big reveal” of this pie before by serving it wrong. Picture this: a beautifully decorated face melting into a puddle as soon as it hit the warm buffet table. Total Halloween tragedy! Here’s how to avoid my mistakes.
Serve it cold, serve it proud: That hour of chilling post-decoration isn’t just a suggestion—it’s the difference between a crisp, terrifying grin and a blob monster. I like to pull it from the fridge just 10 minutes before slicing so the filling stays firm. Pro tip: Run your knife under hot water between cuts for cleaner slices (wiped dry, of course—no one wants watery “ghost juice”).
Storage tips for your edible nightmare: If by some miracle there are leftovers (rare in my house), cover loosely with plastic wrap or store in an airtight container. The pie keeps its spooky charm for 3-4 days in the fridge, though the face may fade slightly. Want to prep ahead? Bake and chill the pie up to 24 hours before decorating—the flavor actually deepens!
Warning: Don’t freeze the decorated pie unless you want a face only a mother could love. The food coloring bleeds when thawed, creating what my kids call “zombie pie aftermath.” Instead, freeze the undecorated pie up to a month, then thaw overnight in the fridge before adding your creepy masterpiece.
One last thing—if transporting your pie, chill it until the last possible second and keep it in a cooler. I once arrived at a party with a formerly terrifying face that had slid into a sleepy puddle. Now I bring the coloring tools with me and decorate on-site while everyone watches. Bonus: instant Halloween entertainment!
Creepy Face Pie Nutritional Info
Let’s be real—this pie isn’t winning any health food awards (unless “Most Likely to Haunt Your Waistline” counts). But hey, Halloween comes once a year! Here’s the scoop on what’s lurking in each slice—values are estimates based on my exact recipe, but your brands might skew things slightly.
- Serving Size: 1 slice (1/8 of the pie)
- Calories: 320 (mostly from the evil laughter it induces)
- Sugar: 25g (the “scream” in scream-worthy)
- Fat: 18g (10g saturated—blame the decadent cream)
- Carbs: 35g (ghosts need energy to float, right?)
- Protein: 4g (for strong bones to survive zombie attacks)
- Cholesterol: 110mg (the eggs are doing most of the haunting here)
Important note: These numbers don’t include your artistic flourishes—if you go wild with extra frosting “gore” or candy eyeballs, well… let’s just say the Sugar Fairy (or Demon?) will have opinions. For a lighter version, try my vegan swaps in the variations section—though even my coconut cream version still qualifies as “treat yo’ self” territory.
Fun fact: I once calculated that the average kid consumes roughly 3.4 pounds of candy on Halloween. Compared to that, one slice of this pie practically counts as a balanced meal. Okay, maybe not—but at least it’s homemade terror!
Frequently Asked Questions
Can I use homemade pie crust instead of premade?
Absolutely! My grandma would be proud. Just roll your favorite crust recipe to fit a 9-inch pie dish, and don’t forget to chill it before baking—this prevents dreaded “shrinkage.” The frozen kind is great for convenience, but homemade adds that extra love (and bragging rights).
How long does Creepy Face Pie last in the fridge?
This pie keeps its spooky charm for 3-4 days if covered properly. The face design might fade a bit, but the flavor actually improves overnight—it’s like the ghosts are marinating. For best texture, I recommend eating within 48 hours (not that it ever lasts that long in my house).
Is there a vegan version?
You bet! Swap the eggs for flax eggs (1 tbsp ground flax + 3 tbsp water per egg), use coconut cream instead of dairy, and grab a vegan pie crust. The filling sets slightly softer, so chill it overnight before decorating. Pro tip: Black sesame paste makes amazing “stitches” for a truly monstrous look!
Can I freeze Creepy Face Pie?
Freeze at your own risk! The baked pie (without decoration) freezes beautifully for up to a month. But if you’ve already added the face? Prepare for a horror show—the food coloring bleeds when thawed. I learned this the hard way with what my kids now call “The Melted Clown Incident of 2018.”
What’s the best tool for drawing the face?
I swear by clean paintbrushes (size 0 or 1) for details, or toothpicks for outlining. If you’re nervous, try edible markers—they’re like training wheels for pastry artists. My first attempt with a squeeze bottle looked like the pie had a bad tattoo, so start simple!
Help! My food coloring smeared. Can I fix it?
Welcome to the club! If it’s a small smudge, turn it into a “wound” with red accents. Big smear? Own it—call it “Ghostly Apparition Pie” and serve it with spooky sound effects. In my experience, no one cares about imperfections once they taste that cinnamon-vanilla filling.
Alright, fellow Halloween fanatics—here’s where the real fun begins. After you’ve created your edible masterpiece (or monstrosity—no judgment here), I need to see it! Snap a pic of your Creepy Face Pie and tag me on Instagram @SpookyBaker. Nothing makes me cackle louder than seeing your terrifying—or adorably failed—creations. (Pro tip: dim lighting + a flashlight under your chin = instant horror-movie glamour shot.)
Last year, one reader turned her pie into a zombie with “missing” chunks using crushed Oreos, and another recreated her cat’s grumpy face with licorice whiskers. My DMs were pure Halloween gold! Use #CreepyFacePie so we can all scream over your designs. Bonus points if your kid’s “help” turns it into abstract art—my 2017 “ghost drawn by a sleep-deprived parent” still haunts my feed lovingly.
Now go forth and bake something gloriously creepy. And remember: if your pie looks more “deranged potato” than “elegant specter,” just tell everyone it’s a sleep paralysis demon. Works every time.
Print
“Spooky 5-Ingredient Creepy Face Pie That Haunts Parties”
- Total Time: 1 hour
- Yield: 8 servings 1x
- Diet: Vegetarian
Description
A spooky dessert perfect for Halloween, featuring a face design made from pastry.
Ingredients
- 1 premade pie crust
- 1 cup sugar
- 3 eggs
- 1 cup heavy cream
- 1 tsp vanilla extract
- 1/2 tsp cinnamon
- 1/4 tsp nutmeg
- 1 tbsp butter (for greasing)
- Black food coloring (for decoration)
Instructions
- Preheat your oven to 350°F (175°C).
- Roll out the pie crust and press it into a greased pie dish.
- In a bowl, whisk sugar, eggs, cream, vanilla, cinnamon, and nutmeg.
- Pour the mixture into the pie crust.
- Bake for 40-45 minutes until set.
- Let the pie cool completely.
- Use black food coloring to draw a creepy face on the surface.
- Refrigerate for 1 hour before serving.
Notes
- Chill the pie before decorating for cleaner lines.
- Use a stencil for the face if needed.
- Serve cold for the best texture.
- Prep Time: 15 minutes
- Cook Time: 45 minutes
- Category: Dessert
- Method: Baking
- Cuisine: American
Nutrition
- Serving Size: 1 slice
- Calories: 320
- Sugar: 25g
- Sodium: 150mg
- Fat: 18g
- Saturated Fat: 10g
- Unsaturated Fat: 6g
- Trans Fat: 0g
- Carbohydrates: 35g
- Fiber: 1g
- Protein: 4g
- Cholesterol: 110mg