Skip to content
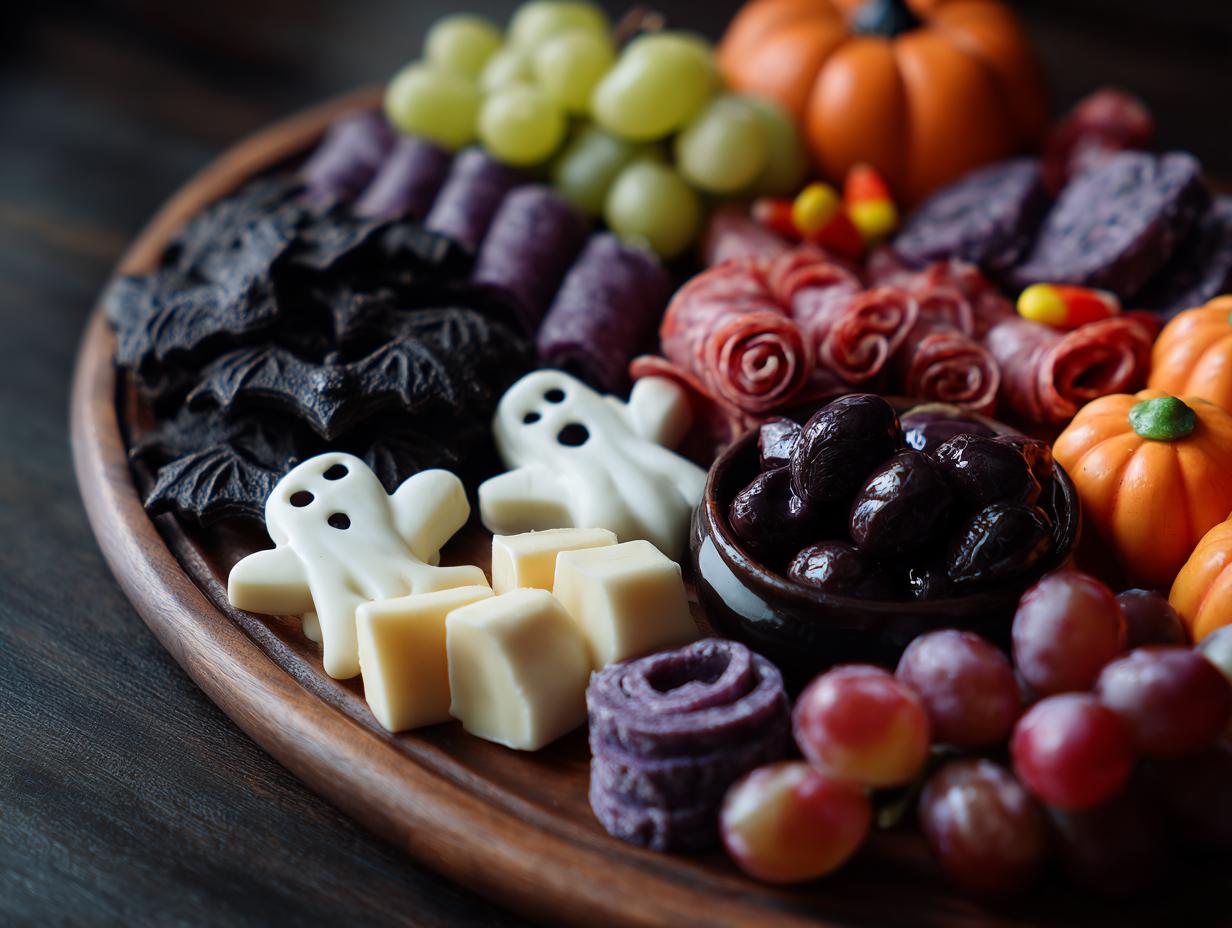
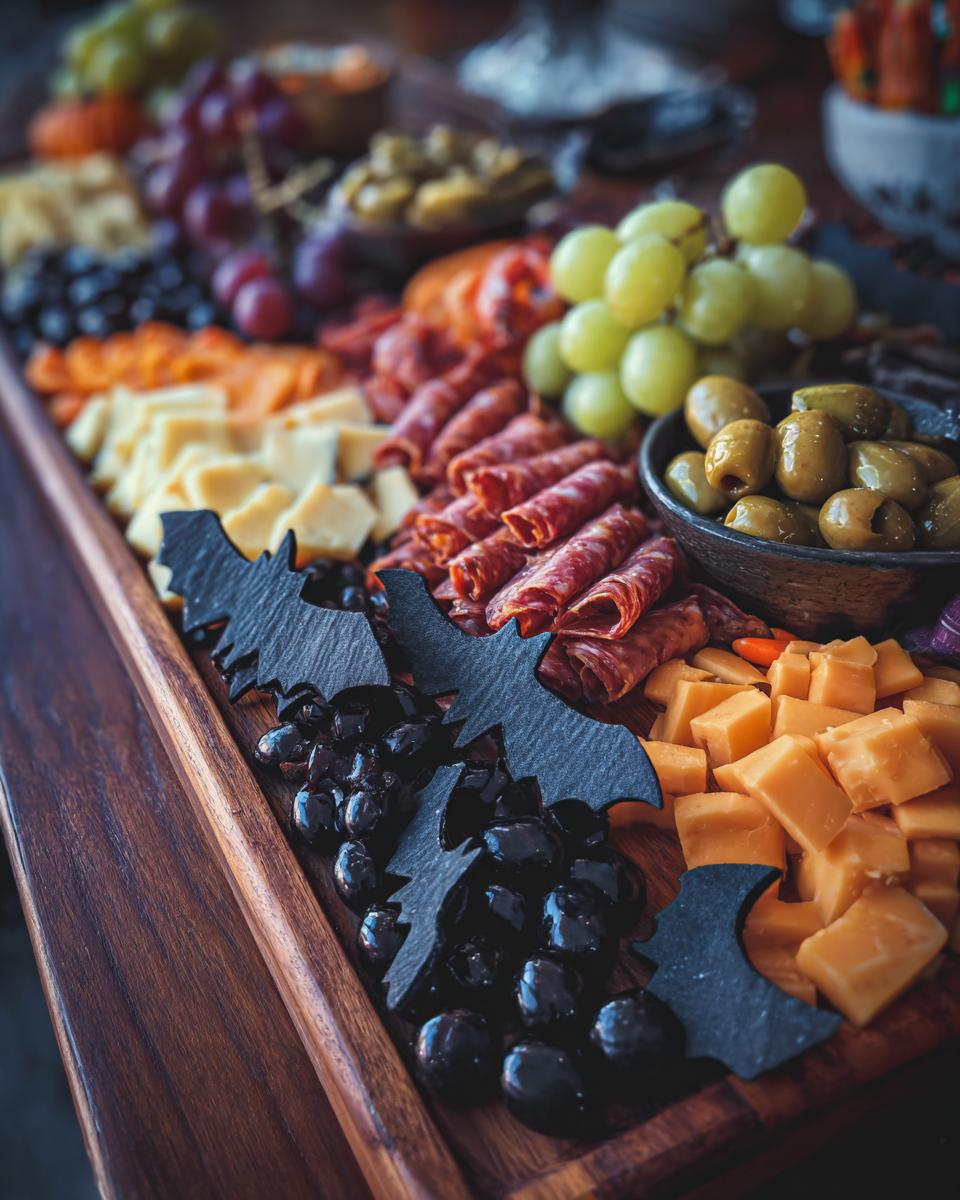
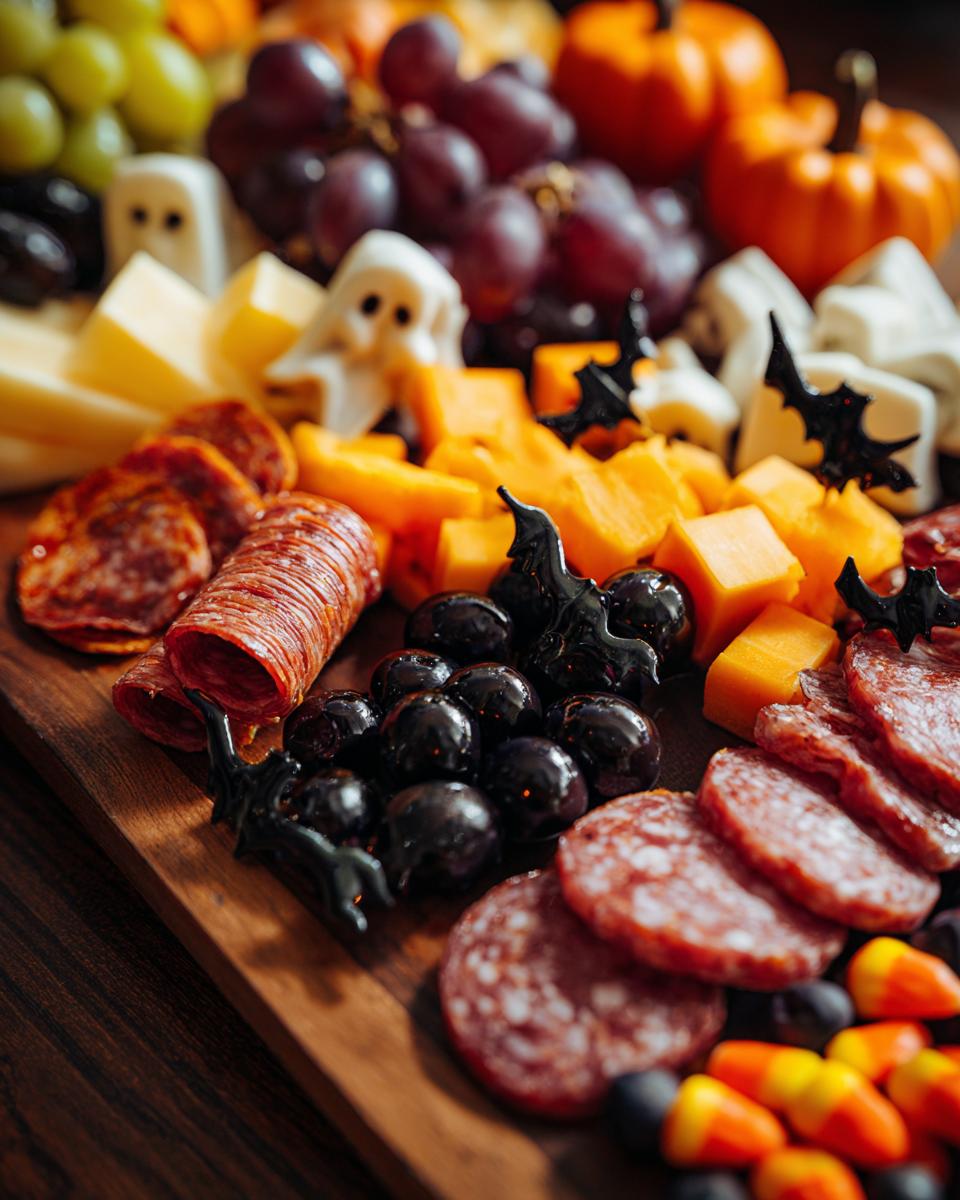
You know those Halloween parties where everyone’s too busy gushing over the costumes to eat? Yeah, that used to be me—until I discovered the magic of a Halloween charcuterie board. Picture this: creepy cheese skulls, “bloody” prosciutto draped like cobwebs, and candy eyes peeking out between grapes. It’s the ultimate party trick—easy to throw together, but impressive enough to make your guests stop mid-boo for a snack. My kids now demand this spooky spread every October, and honestly? I love how it turns basic ingredients into edible decor. No cooking, just chilling (literally—keep it refrigerated until showtime!).
Why You’ll Love This Halloween Charcuterie Board
Listen, I’m all for a showstopping party dish that doesn’t leave me sweating over a stove while dressed as a zombie. Here’s why this Halloween charcuterie board is my forever go-to:
- Effortless assembly: No cooking, just artful arranging—even my 8-year-old helps (when she’s not stealing pepperoni “fingers”).
- Instant wow factor: The second you set this down, phones come out for photos. Bonus: it doubles as a centerpiece!
- Something for everyone: Sweet, salty, crunchy—all on one board. Picky eaters? Covered. Hungry teens? Sorted.
- Last-minute lifesaver: Forgot to prep? Raid your fridge and pantry—those sad olives in the back just became “eyeballs.”
Trust me, once you see guests hovering around this instead of the punch bowl, you’ll make it a yearly tradition.
Ingredients for Your Halloween Charcuterie Board
Here’s the fun part—scaring up ingredients for your spooky spread! The beauty of a Halloween charcuterie board is how flexible it is, but these are my tried-and-true staples that always disappear first at parties. (Pro tip: Double everything if you’ve got more than 8 ghosts and goblins coming!)
- 1 cup assorted cheeses: Cubed cheddar for “tombstones,” sliced gouda for “pumpkins,” and mozzarella balls as “ghost eyes”
- 1 cup assorted cured meats: Fold prosciutto into “bat wings,” roll salami into “witches’ fingers,” and leave pepperoni whole for “spider bodies”
- 1/2 cup olives: Pitted black olives look like mini cauldrons—or slice them into “eyeball” rings
- 1/2 cup grapes: Purple ones resemble tiny potion ingredients; freeze them for a foggy effect
- 1/4 cup nuts: Almond “fangs” or candied walnuts add crunch
- 1/4 cup dried fruits: Apricot “moons” and fig “brains” bring chewy texture
- 1/4 cup Halloween candies: Candy corn, chocolate eyeballs, or gummy worms for pops of color
- 1/4 cup crackers: Black sesame or pumpkin-shaped ones if you’re feeling fancy
- 1/4 cup mini pickles: Their green hue screams “Frankenstein skin”
- 1/4 cup cherry tomatoes: Skewer them as “bloody eyeballs” on toothpicks
Ingredient Notes & Substitutions
Don’t stress if you’re missing something—this board thrives on creativity! For vegetarian versions, swap meats for roasted veggies (zucchini “fingers” are creepy-good) or vegan “salami.” Dairy-free? Nut-based cheeses work beautifully. Not a fan of olives? Try artichoke hearts—they make great “monster scales.” I’ve even used apple slices as “pumpkin teeth” when I ran out of crackers. The key? Pick 2-3 items from each category (cheese, protein, fruit, crunch) and let the Halloween spirit guide you!
How to Assemble Your Halloween Charcuterie Board
Okay, let’s bring this spooky masterpiece to life! The secret to a killer Halloween charcuterie board is layering textures and colors just like you’re decorating a haunted house. Start by pulling all your ingredients from the fridge—cold items hold their shape better when arranging. Give yourself about 20 minutes of uninterrupted “playtime” (trust me, you’ll get carried away making salami roses and cheese tombstones!). Work on a clean surface, and don’t be afraid to step back occasionally to check the balance—you want equal parts creepy and appetizing!
Step-by-Step Arrangement Guide
First, anchor your board with cheeses—place them in triangle formation for visual interest. Cluster cubed cheddar on one end, fan sliced gouda in the middle, and pile mozzarella balls at the opposite corner. Next, tuck folded meats between cheeses: drape prosciutto like cobwebs, stand salami rolls as fingers, and overlap pepperoni slices for spider bodies. Now fill gaps with olives (eyeballs!), grapes (potion ingredients!), and nuts (vampire teeth!). Scatter dried fruits and candies toward the center where little hands can easily grab them. Finally, edge the board with crackers and prop pickle “limbs” against taller items. Remember—imperfections make it look authentically haunted!
Decorating Tips for Maximum Spookiness
Here’s where the magic happens! Nestle plastic spiders between almonds, or perch mini rubber bats on cheese wedges. Dab hot sauce on mozzarella balls for bloody eyes, or skewer tomatoes with toothpick “pupils.” I love using kale leaves as spooky garnishes—they resemble witch hair when tucked under meats! For last-minute drama, lightly dust the board with edible black glitter right before serving. And don’t forget the dry ice “cauldron” nearby—hovering fog takes this board from cute to completely possessed!
Equipment You’ll Need
Don’t overthink this—your Halloween charcuterie board doesn’t require fancy gadgets! Here’s what I always grab:
- Large wooden board or platter: The bigger, the better for dramatic arranging (mine’s a beat-up cutting board that’s seen many haunted nights)
- Small bowls: For messy items like olives or dips (bonus points for cauldron-shaped ones!)
- Cheese knives/spreaders: Plastic skeleton-hand utensils if you’re extra
- Toothpicks: Essential for spearing “eyeballs” and propping up salami roses
That’s it! Now let’s make some edible magic.
Serving Suggestions & Storage Tips
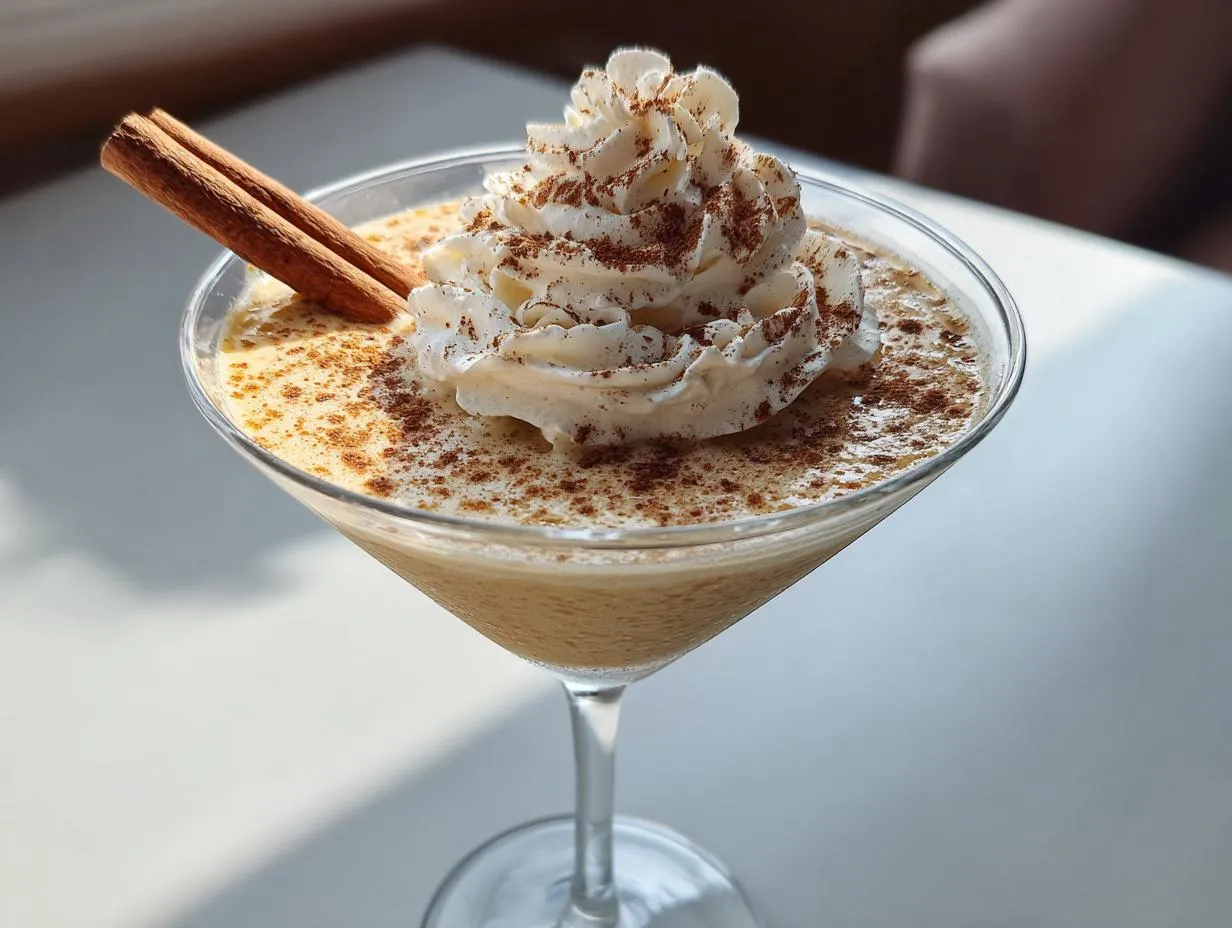
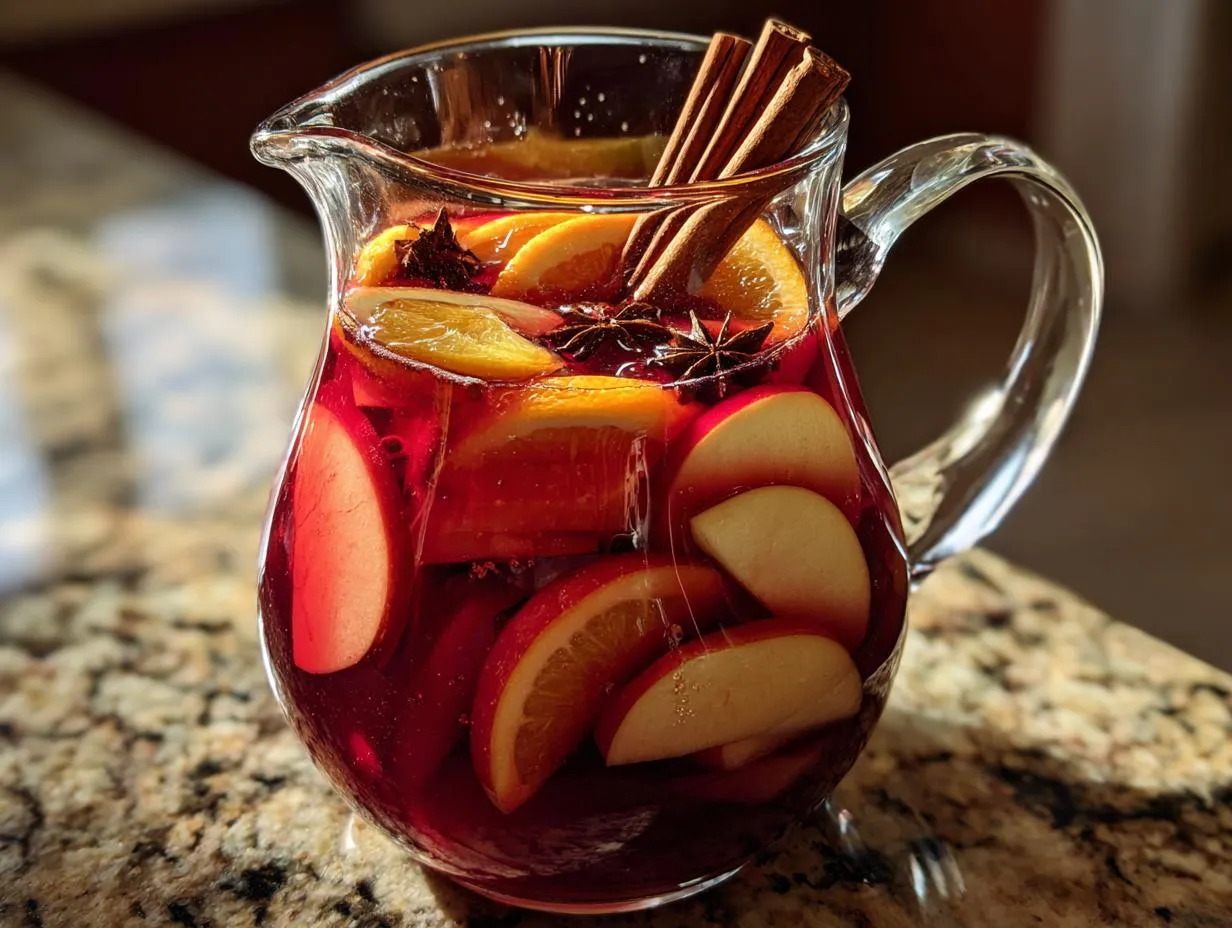
This Halloween charcuterie board is basically a party in edible form—so serve it with drinks that keep the spooky vibes going! I love pairing it with steaming mulled cider (float orange slices with clove “eyes”) or a bubbling punch bowl with gummy worms frozen in ice cubes. For adults, a blackberry sangria with “eyeball” lychees makes everything creepier. Important note: Keep the board refrigerated until 15 minutes before serving—cold cheeses hold their freaky shapes better! Leftovers? Cover tightly with plastic wrap; most ingredients stay fresh for 2 days (though the candy eyeballs never last that long in my house).
Nutritional Information
Okay, let’s be real—this Halloween charcuterie board is all about fun, not calorie counting! But since you asked, here’s a rough estimate per serving (about 1/8 of the board): 250 calories, with 12g protein and 15g fat. Numbers will vary wildly depending on your cheese choices and how many candy eyeballs you sneak. Pro tip: Balance the indulgence with extra grapes and nuts—they’re the “healthy-ish” part of this spooky spread!
Frequently Asked Questions
Q1. Can I assemble the Halloween charcuterie board ahead of time?
Absolutely! The beauty of this board is its make-ahead magic. Prep cheeses and meats up to 24 hours in advance—just wrap them tightly and refrigerate. Assemble everything except crackers (they’ll get soggy) about 2 hours before your party. I like to store mine in the fridge with a damp paper towel over exposed cheeses to prevent drying. Add the final decorative touches right before serving for maximum spook factor!
Q2. What if I can’t find Halloween-themed ingredients?
Get creative with what you’ve got! Standard groceries transform easily—slice bell peppers into “jack-o’-lantern smiles,” arrange pretzel sticks as “bones,” or use cream cheese piped into ghost shapes. My kids once turned baby carrots into “witch fingers” with almond sliver nails! The key is presentation—even ordinary ingredients look eerie when arranged with Halloween spirit.
Q3. How do I keep my Halloween charcuterie board fresh during a party?
Two words: strategic chilling. If your party lasts more than 2 hours, set the board on a larger tray filled with ice (black crushed ice looks extra creepy!). Rotate small portions from the fridge as needed—I keep a “backup plate” of replenishments hidden in the kitchen. Pro tip: Place a small fan nearby to blow tissue paper “ghosts” over the board—it keeps bugs away while adding drama!
For more Halloween inspiration, check out our Pinterest board!
Print
Creepy 20-Minute Halloween Charcuterie Board Trick
- Total Time: 20 minutes
- Yield: 1 board (serves 6-8) 1x
- Diet: Vegetarian
Description
A spooky Halloween-themed charcuterie board perfect for parties.
Ingredients
- 1 cup assorted cheeses (cheddar, gouda, mozzarella)
- 1 cup assorted cured meats (salami, prosciutto, pepperoni)
- 1/2 cup olives
- 1/2 cup grapes
- 1/4 cup nuts (almonds, walnuts)
- 1/4 cup dried fruits (apricots, figs)
- 1/4 cup Halloween candies
- 1/4 cup crackers
- 1/4 cup mini pickles
- 1/4 cup cherry tomatoes
Instructions
- Arrange cheeses on the board.
- Place cured meats in small piles.
- Add olives, grapes, and nuts in separate sections.
- Fill gaps with dried fruits and Halloween candies.
- Place crackers and pickles around the board.
- Add cherry tomatoes for color.
Notes
- Use Halloween-themed cookie cutters for cheese shapes.
- Add plastic spiders or bats for decoration.
- Keep refrigerated until serving.
- Prep Time: 20 minutes
- Cook Time: 0 minutes
- Category: Appetizer
- Method: No Cook
- Cuisine: American
Nutrition
- Serving Size: 1/8 of board
- Calories: 250
- Sugar: 10g
- Sodium: 400mg
- Fat: 15g
- Saturated Fat: 6g
- Unsaturated Fat: 7g
- Trans Fat: 0g
- Carbohydrates: 18g
- Fiber: 2g
- Protein: 12g
- Cholesterol: 30mg