Skip to content
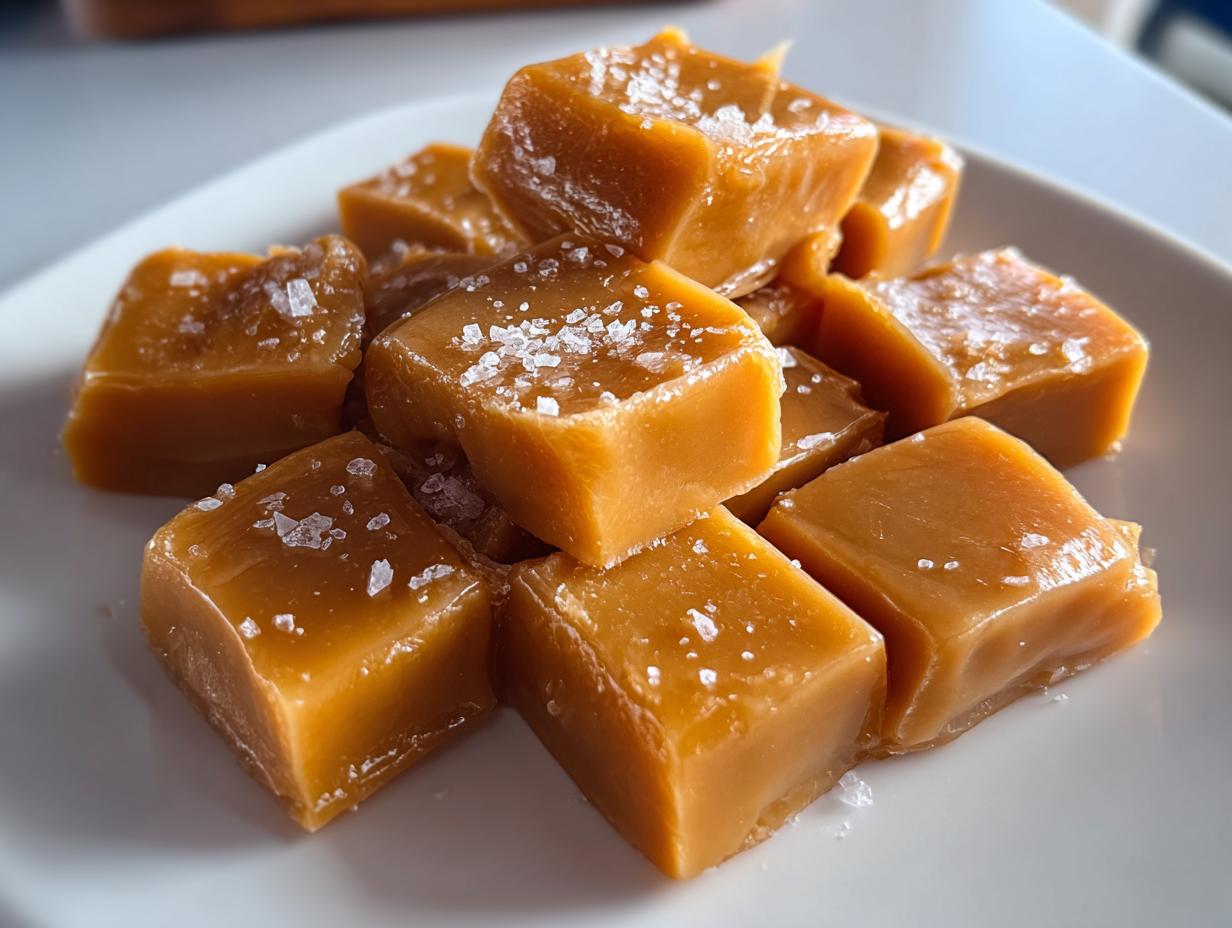
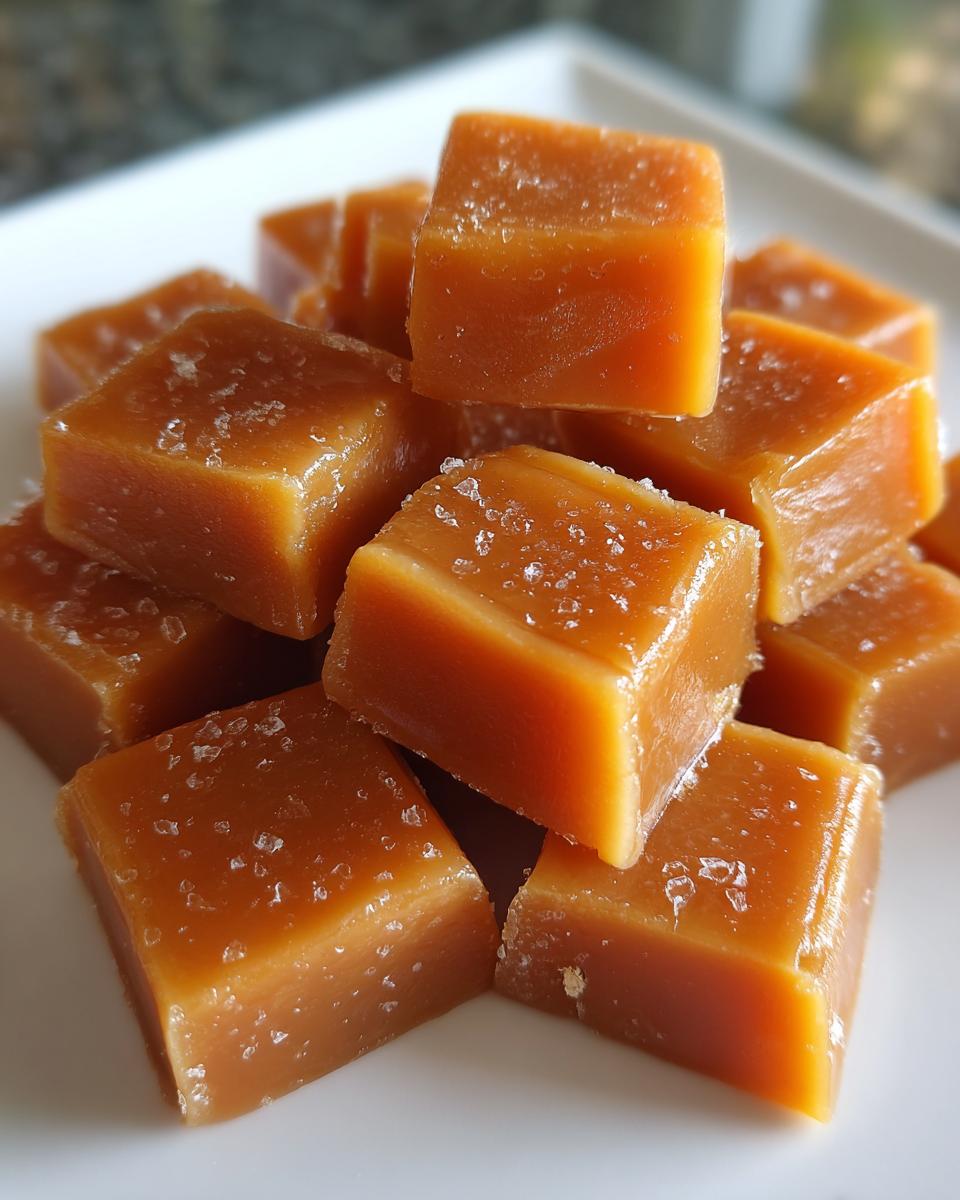
There’s something magical about homemade treats, isn’t there? These caramels are my go-to when I want to impress friends or just indulge in a little kitchen therapy. Trust me, the joy of unwrapping a buttery, melt-in-your-mouth caramel you made yourself beats anything from a store. The texture? Perfectly soft and chewy, with just the right amount of pull. I’ve been making these for years—they’re foolproof once you get the hang of it. Plus, wrapped in little parchment squares, they make the sweetest gifts. One bite, and you’ll understand why I can’t stop making them.
Why You’ll Love These Homemade Caramels
Making candy at home might sound fancy, but this recipe? Oh, it’s easier than you think—and SO worth it. Here’s why these caramels will become your new obsession:
- Rich, buttery flavor that puts store-bought to shame. That deep caramel taste comes from real cream and butter slowly cooked to perfection. (No weird waxy aftertaste here!)
- Just 7 simple ingredients—probably already in your pantry. No obscure additives, no fuss. Even better? You can tweak the salt level or add a splash of bourbon if you’re feeling fancy.
- Gift goldmine. Tied up in pretty parchment, these look like they came from a specialty shop. I’ve mailed them to cousins, used them as party favors, and even bribed my kids’ teachers with them (shh).
- The texture is *chef’s kiss***. Chewy but not sticky, soft but not squishy—exactly how caramel should be. Plus, you control the firmness by adjusting the cook time.
Honestly? Once you taste warm caramel dripping off your spatula, you’ll never go back to plastic-wrapped squares again.
Ingredients for Homemade Caramels
Gather these simple ingredients—measure carefully, because candy-making is all about precision! A kitchen scale helps, but I’ve listed volume measurements too:
- 1 cup heavy cream (use the good stuff—none of that half-and-half nonsense)
- 5 tablespoons unsalted butter, cubed and softened (cold butter will seize the hot sugar)
- 1 ½ cups granulated sugar (don’t sub brown sugar—it’ll throw off the texture)
- ¼ cup light corn syrup (this prevents crystallization—trust me, skip the honey swaps unless you like grainy caramels)
- ¼ cup water (just plain tap water works fine)
- 1 teaspoon vanilla extract (splash it in at the end for maximum flavor)
- ¼ teaspoon salt (I use flaky sea salt, but table salt works too)
See? Nothing weird. Just real ingredients that melt into caramel magic. Pro tip: Have everything measured and ready before you turn on the stove—sugar waits for no one!
Essential Equipment for Homemade Caramels
Hot sugar is no joke, so let’s talk gear! You’ll need three key things to make these caramels safely:
- A heavy-bottomed saucepan (thin pans burn sugar faster than I burn toast)
- Parchment paper for lining your pan—greased foil just sticks, and we’ve all cried over lost caramel
- A candy thermometer—this is non-negotiable. Guesswork leads to hockey pucks or soup
Bonus? A silicone spatula and oven mitts. That molten sugar is lava-level hot—protect those fingers!
Choosing the Right Candy Thermometer
The cheap dial thermometers? Toss ’em. After ruining three batches from inaccurate readings, I finally splurged on a digital thermometer with a clip. Game changer! Look for one that reads 200–300°F clearly—the 245°F sweet spot for caramels needs precision. My $15 digital one beeps when it hits temp. Worth every penny!
Step-by-Step Instructions for Homemade Caramels
Don’t let the sugar syrup scare you—I’ll walk you through each step like we’re standing side by side at the stove. The key? Patience and keeping an eye on that thermometer! Here’s exactly how I make my foolproof caramels every time.
Preparing the Pan and Mixtures
First, line your 8-inch square pan with parchment paper, letting excess hang over the edges—this makes lifting out the slab SO much easier. Lightly grease the parchment if you’re paranoid about sticking (I am). Now, measure everything! Heat the cream and butter in a small saucepan until the butter melts, then keep it warm on low. In your heavy-bottomed pot, combine sugar, corn syrup, and water—no stirring yet!
Cooking the Sugar Syrup
Turn the heat to medium and let the sugar mixture bubble away untouched until it turns clear, about 5 minutes. Resist stirring—swirl the pan gently if needed. Now comes the fun part: watch closely as it transforms from clear to pale gold, then to a deep amber. This takes 7-10 minutes. Smell that toasty caramel aroma? That’s your cue to move fast—it’ll go from perfect to burnt in seconds!
Combining Ingredients and Finishing
Carefully pour the warm cream mixture into the amber syrup—it’ll bubble wildly, so stand back! Stir constantly with a long-handled wooden spoon until smooth. Clip on your thermometer and cook until it hits 245°F (firm ball stage). This takes about 10 minutes—stir occasionally to prevent scorching. Remove from heat, stir in vanilla and salt, then pour into your prepared pan. Let it cool completely (overnight is best) before cutting into squares.
Pro Tips for Perfect Homemade Caramels
After years of sticky fingers and a few caramel disasters, here are my hard-won secrets for flawless batches every single time:
- Stir like your caramel depends on it—because it does! Once you add the cream, keep that spoon moving to prevent scorching. I do small figure-8 patterns along the bottom where heat collects. But be gentle—too much vigor introduces air bubbles that make cutting messy.
- Rainy day? Bake cookies instead. Humidity is caramel’s nemesis. Sugar absorbs moisture like a sponge, leaving you with sad, sticky blobs. If your windows are foggy, wait for drier weather or crank the AC.
- Thermometers lie sometimes. Test yours by boiling water—it should read 212°F at sea level. If not, adjust your target temp accordingly. I learned this after a batch that could’ve doubled as hockey pucks!
Follow these, and you’ll nail that dreamy chew every time. Pinky promise!
Storing and Gifting Homemade Caramels
Want your caramels to stay as fresh as the day you made them? Here’s my tried-and-true method: stack them in an airtight container with parchment between layers. They’ll keep beautifully at room temp for 2 weeks—if they last that long! For gifting, I go all out with wax paper twists: cut squares slightly bigger than each caramel, roll them up like little candies, and twist the ends. Tie with baker’s twine or pop them into tiny cellophane bags with ribbon. Bonus points for handwritten tags with reheating tips (10 seconds in the microwave = heaven!). You can find more sweet ideas on Pinterest.
Homemade Caramels FAQs
Got caramel questions? I’ve made every mistake in the book, so let me save you the trouble with these quick answers to common worries:
- Can I use salted butter? Absolutely! Just reduce the added salt by half. I actually prefer salted butter—that sweet-salty balance is addictive. My grandma always used it, claiming “butter should taste like something!”
- Help! My caramels are too soft. No panic! Pop the pan back on low heat for 5-10 minutes to evaporate more moisture. Next time, cook to 248°F for firmer texture. Pro tip: The syrup should form a firm but pliable ball when dropped in ice water.
- Corn syrup substitutes? You can swap in golden syrup or honey, but expect darker color and stronger flavor. For crystal-free results, stir constantly and watch temps like a hawk—these alternatives burn faster than corn syrup.
- Why did my caramel separate? Likely from adding cold cream too fast. Always warm your dairy first and pour slowly while stirring. If it happens, keep stirring over heat—it usually comes back together.
Still stuck? Slide into my DMs with caramel emergencies—I’ve rescued more batches than I can count!
Nutritional Information
Let’s be real—these caramels aren’t health food, but everything in moderation, right? Based on my ingredient choices, here’s the ballpark for one delicious square: about 70 calories with 4g fat (hey, butter makes life better). Exact numbers vary depending on your heavy cream’s fat content and whether you lick the spoon (I always do). If you’re counting macros strictly, weigh your final batch—I get 36 pieces from an 8-inch pan, but your cuts might be more… generous!
Share Your Homemade Caramels Experience
Did your kitchen smell like a candy shop while making these? Snap a pic of your gorgeous caramels and tag me—I live for your sticky-fingered success stories! Drop a rating below if this recipe hit the sweet spot between easy and impressive. Nothing makes me happier than seeing your parchment-wrapped creations (or hearing about the neighbors you’ve bribed with them). Now go forth and caramelize!
Print
Irresistible Homemade Caramels in Just 7 Simple Ingredients
- Total Time: 40 minutes
- Yield: 36 caramels 1x
- Diet: Vegetarian
Description
Make soft and chewy homemade caramels with this simple recipe. Perfect for gifts or a sweet treat.
Ingredients
- 1 cup heavy cream
- 5 tablespoons unsalted butter
- 1 1/2 cups granulated sugar
- 1/4 cup light corn syrup
- 1/4 cup water
- 1 teaspoon vanilla extract
- 1/4 teaspoon salt
Instructions
- Line an 8-inch square pan with parchment paper.
- Combine cream and butter in a saucepan. Heat until butter melts. Set aside.
- In another saucepan, mix sugar, corn syrup, and water. Cook over medium heat until sugar dissolves.
- Increase heat to medium-high. Boil until mixture turns golden brown.
- Slowly add cream mixture. Stir constantly.
- Cook until temperature reaches 245°F on a candy thermometer.
- Remove from heat. Stir in vanilla and salt.
- Pour into prepared pan. Let cool completely.
- Cut into squares and wrap in parchment paper.
Notes
- Use a candy thermometer for accuracy.
- Store in an airtight container for up to 2 weeks.
- Adjust cooking time for softer or firmer caramels.
- Prep Time: 10 minutes
- Cook Time: 30 minutes
- Category: Dessert
- Method: Stovetop
- Cuisine: American
Nutrition
- Serving Size: 1 caramel
- Calories: 70
- Sugar: 8g
- Sodium: 15mg
- Fat: 4g
- Saturated Fat: 2.5g
- Unsaturated Fat: 1g
- Trans Fat: 0g
- Carbohydrates: 9g
- Fiber: 0g
- Protein: 0g
- Cholesterol: 10mg