Skip to content
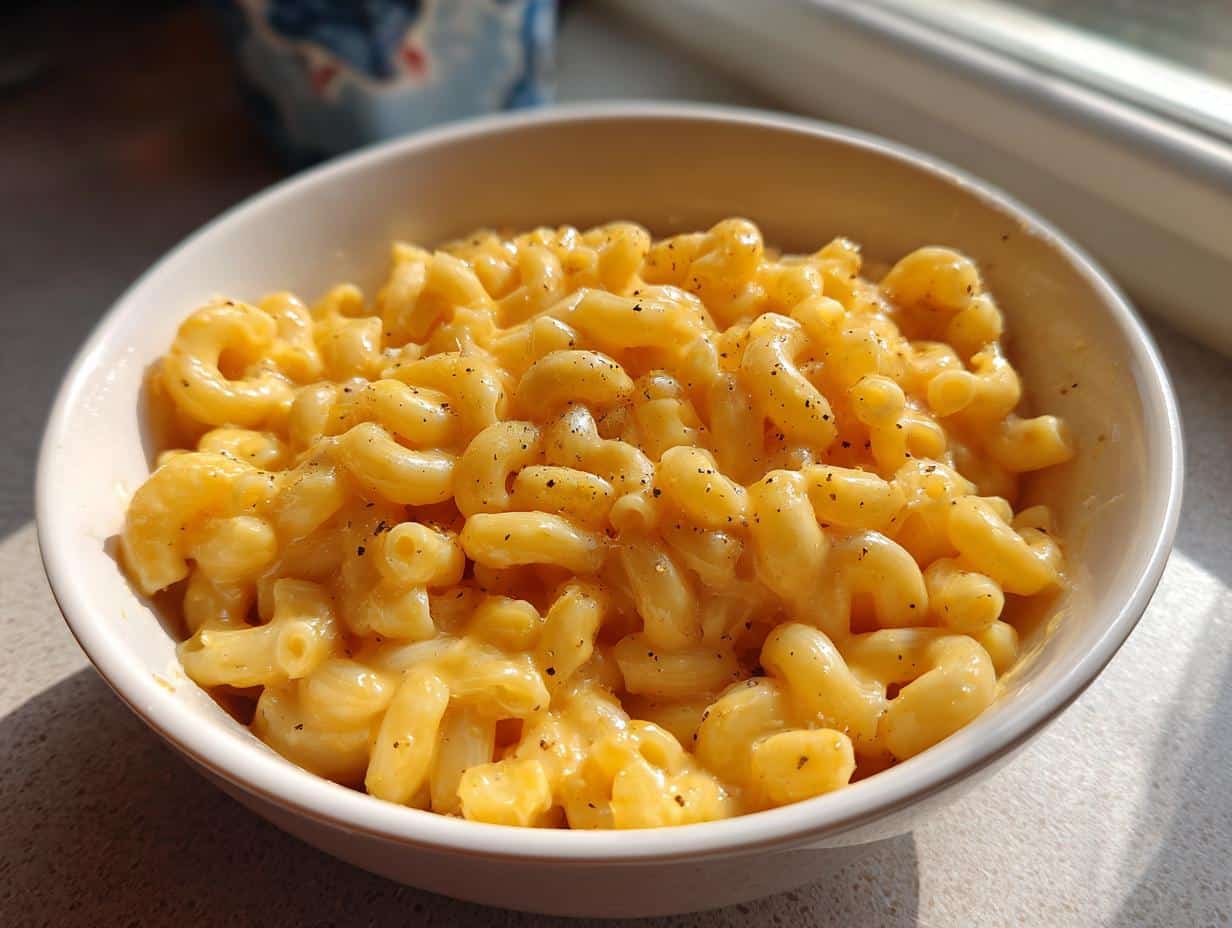
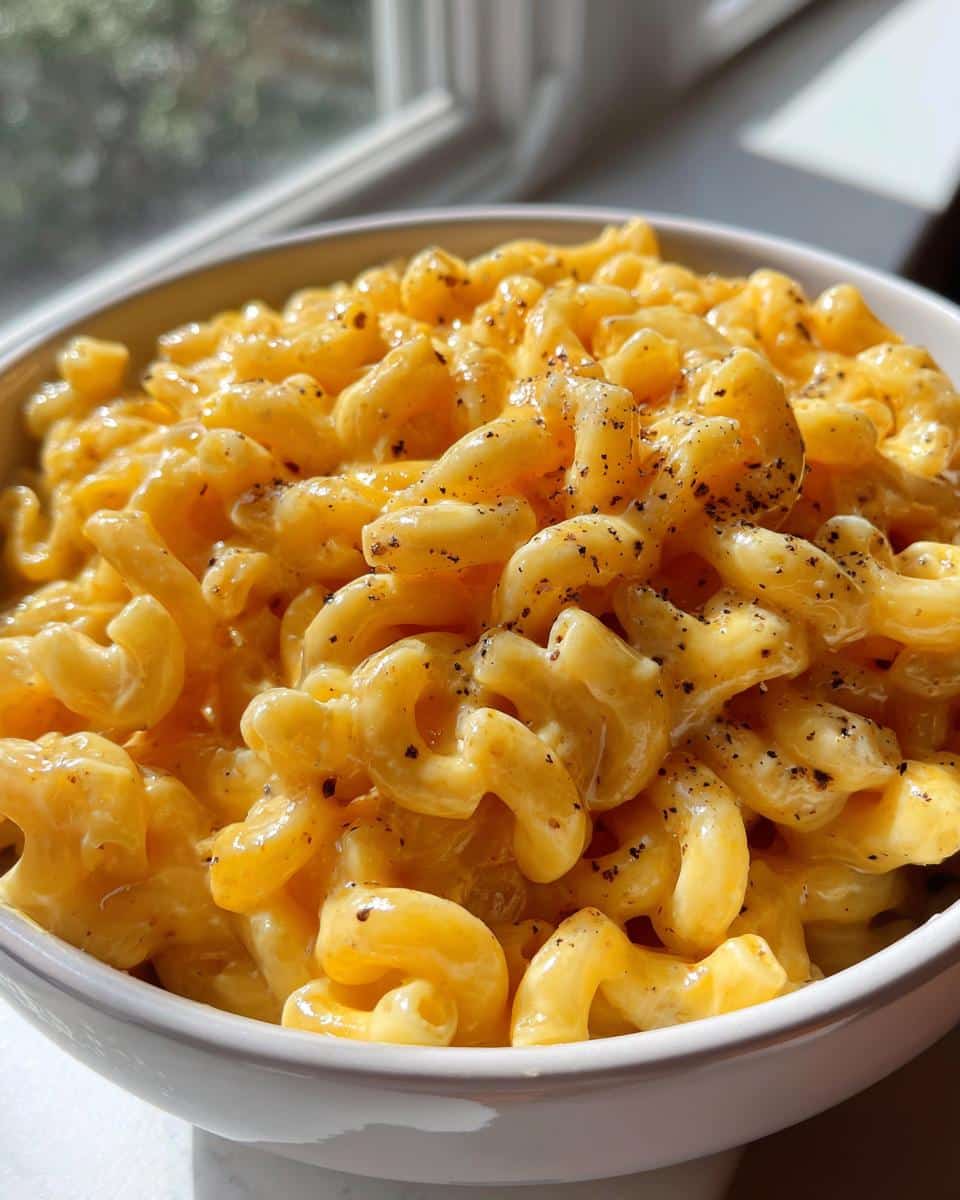
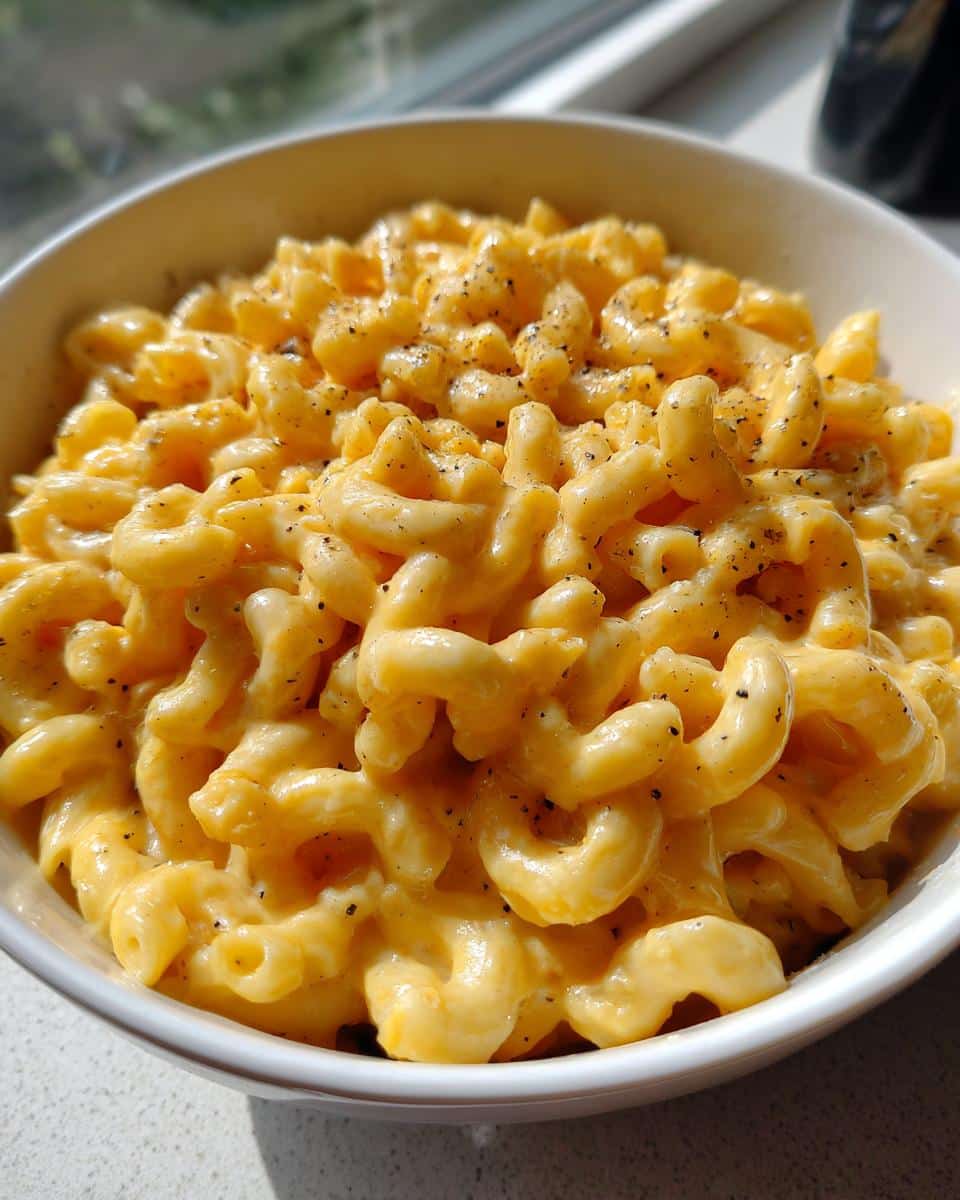
Nothing beats seeing my kids’ faces light up when they open their lunchboxes to find warm, creamy Thermos Mac and Cheese waiting inside. I swear this recipe has saved more rushed mornings than my alarm clock! When my oldest started kindergarten, I panicked about packing lunches that’d actually get eaten – until I discovered this magic trick. The secret? A simple stovetop mac and cheese that stays piping hot for hours in their thermos. Now it’s our go-to comfort food for soccer practices, field trips, and those “I need something cozy” days. Just five ingredients transform into pure cheesy happiness that travels anywhere.
Why You’ll Love This Thermos Mac and Cheese
Listen, I know you’ve got approximately 3.5 seconds to get lunch packed before the morning chaos hits – that’s why this recipe is my lifeline! Here’s why it’ll become yours too:
- 10-minute magic: From pot to thermos before the school bus honks (yes, really!)
- Creamy perfection: The cheese sauce clings to every noodle like a cozy blanket
- Thermos superpower: Stays warm until lunchtime without turning gummy
- Kid-approved: My picky eater actually licks the thermos clean (motherhood win!)
- Pantry staples: No fancy ingredients – just cheese, pasta, and love
The best part? That little “mmmm!” text I get when they take their first bite. Pure gold.
Ingredients for Thermos Mac and Cheese
Grab these simple staples – I bet you’ve got most in your kitchen right now! The beauty here is in the basics:
- 2 cups elbow macaroni (the little tubes hold sauce like champions)
- 2 cups shredded cheddar (sharp or mild – your kiddo’s preference!)
- 1 cup whole milk (trust me, the extra fat makes it dreamy)
- 2 tablespoons butter (salted or unsalted both work)
- 1/4 teaspoon each salt & black pepper (just enough to make flavors pop)
That’s it! Though I sometimes toss in a sneaky pinch of mustard powder if the kids aren’t looking – adds a nice depth.
How to Make Thermos Mac and Cheese
Okay, let’s get cheesy! This couldn’t be simpler – I’ve burned enough macaroni in my life to know the foolproof method. Just follow these steps and you’ll have creamy perfection every time.
Cooking the Macaroni
First, dump those elbow noodles into boiling salted water (it should taste like the sea!). Cook for exactly 1 minute less than the package says – they’ll keep cooking in the thermos. Drain ’em quick, but don’t rinse! That starchy coating helps the sauce cling later.
Creating the Cheese Sauce
Here’s where the magic happens! Return the drained pasta to the warm pot (off heat) and toss in the butter. Let it melt while you stir – the steam from the hot noodles helps it along beautifully. Pour in the milk slowly while stirring, then add your salt and pepper. Now the fun part: shower in that shredded cheese like you’re making it rain cheddar! Keep stirring as it melts into silky smoothness. If it seems thick, add a splash more milk – we want it saucy since the thermos will thicken it slightly.
Packing in the Thermos
Hot tip (literally!): Warm your thermos first by filling it with boiling water while you cook. Dump the water right before adding the mac and cheese. Scoop it in while piping hot, filling to about 3/4 full (leave room for stirring later). Screw the lid on tight and give it a gentle shake – this keeps the sauce from separating during transport. Voila! Creamy comfort ready whenever hunger strikes.
Tips for Perfect Thermos Mac and Cheese
After making this dozens of times (sometimes while half-asleep!), here are my best tricks for thermos mac and cheese success:
- Preheat that thermos! That boiling water trick is non-negotiable – keeps the cheese gloriously melty for hours
- Shred your own cheese – pre-shredded has anti-caking agents that make the sauce grainy (I learned this the hard way!)
- Stir halfway if keeping in thermos longer than 2 hours – just pop the lid and give it a quick swirl
- Add a teaspoon of mustard powder when the kids aren’t looking – it makes the cheese flavor “pop” without tasting mustardy
- For extra creaminess, stir in a tablespoon of cream cheese with the cheddar
And if all else fails? More cheese. Always more cheese.
Variations for Thermos Mac and Cheese
Once you’ve mastered the basic recipe (and trust me, your kids will beg for it!), try these fun twists to keep things interesting:
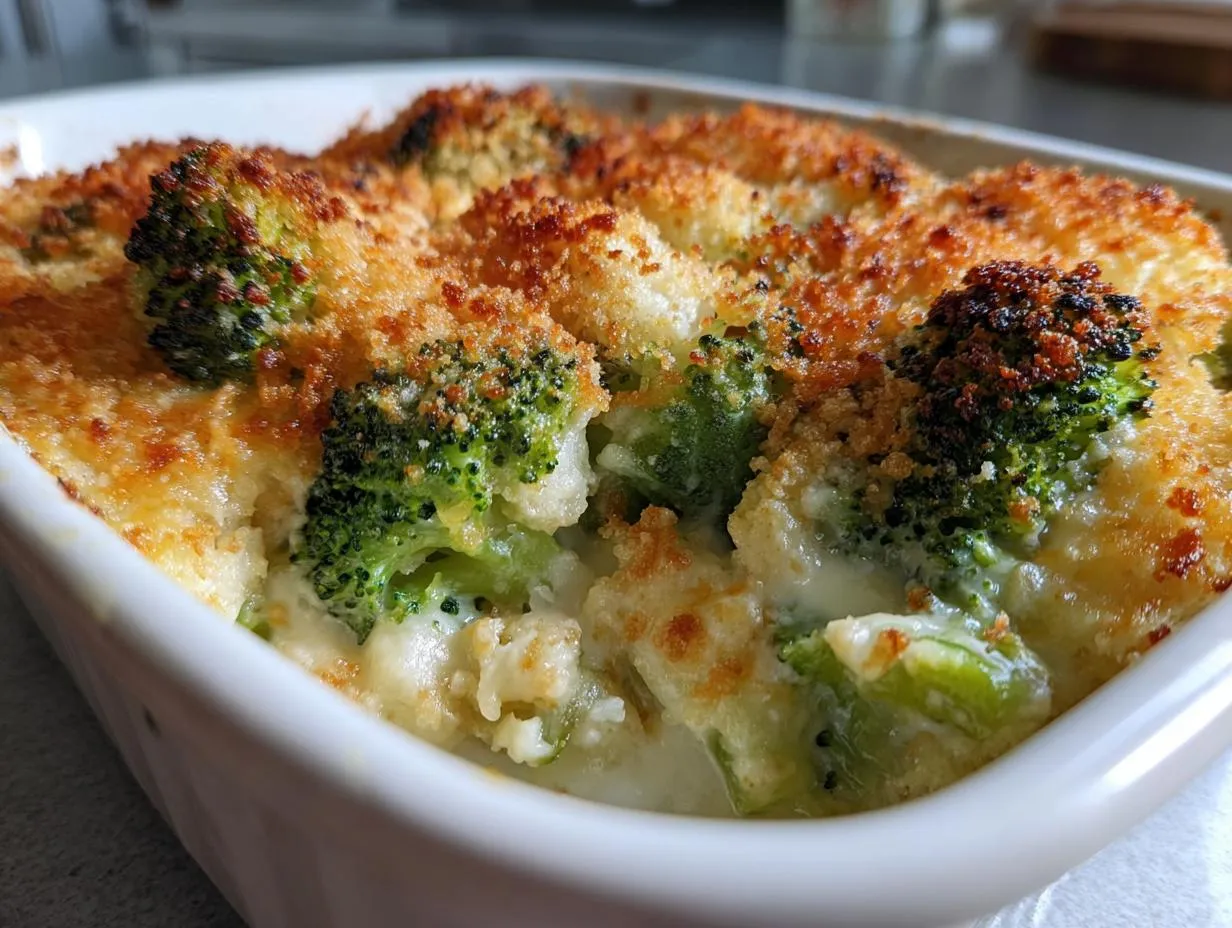
- Veggie boost: Stir in steamed broccoli florets or diced roasted sweet potatoes – the thermos keeps them perfectly tender
- Protein power: Add cubed ham or shredded rotisserie chicken for extra staying power
- Cheese swap: Try half cheddar, half Monterey Jack for creaminess, or a handful of parmesan for extra umami
- Spice it up: A dash of smoked paprika or garlic powder gives grown-up flair (my secret for “stealing” bites!)
- Rainbow noodles: Use tricolor veggie pasta to make it look extra fun – kids eat with their eyes first!
The beauty of this recipe? It’s like a blank canvas for your lunchbox creativity!
Serving Suggestions
This thermos mac and cheese is a meal all by itself, but I love rounding it out with fresh sides that make lunch feel extra special! My kids go wild for crisp apple slices or juicy grapes to contrast the creamy pasta. Baby carrots and cucumber sticks add a nice crunch, and they’re perfect for scooping up any leftover cheese sauce. For picky eaters, try pairing with their favorite crackers – the salty crunch is magic with the rich mac and cheese. And on crazy days? Just throw in a handful of cherry tomatoes and call it a win!
Storage and Reheating
Got leftovers? Lucky you! Store cooled mac and cheese in an airtight container for up to 3 days. When reheating, add a splash of milk and stir frequently over medium-low heat – microwaving can make it grainy. The thermos trick works great here too – just refill with boiling water first to keep it creamy!
Nutritional Information
Just a heads up – these numbers can change based on your exact ingredients (especially the cheese and milk you use!). Per serving, you’re looking at roughly 350 calories with 15g protein – comfort food that actually fuels those growing bodies!
FAQs About Thermos Mac and Cheese
After years of packing this lunchbox hero, I’ve answered every mac and cheese question imaginable! Here are the ones I get asked most:
Can I use plant-based milk?
Absolutely! Almond or oat milk work great, but go for the “original” versions (not unsweetened). The sauce might be slightly thinner, so add an extra handful of cheese to compensate. My vegan friends swear by nutritional yeast for that cheesy flavor!
How long does it stay warm in the thermos?
Properly preheated, it’ll stay piping hot for 4-5 hours – perfect for school days. If you’re packing it for later, give the thermos a shake around noon to redistribute the heat.
Can I make this gluten-free?
Yes! Just swap regular pasta for your favorite GF elbows. The cheese sauce works exactly the same. My niece loves it with chickpea pasta for extra protein.
Why does my cheese sauce get grainy?
Usually means the heat was too high when melting the cheese. Low and slow is the way to go! Also, always shred your own cheese – the pre-shredded kind has additives that can cause graininess.
Can I freeze leftovers?
Technically yes, but the texture changes. The sauce separates when thawed, so I prefer making it fresh. If you must freeze, stir in extra milk when reheating!

10-Minute Thermos Mac and Cheese – Creamy Kid Comfort Bliss
- Total Time: 15 minutes
- Yield: 4 servings 1x
- Diet: Vegetarian
Description
A quick and easy mac and cheese recipe perfect for packing in a thermos for kids on the go. Creamy, cheesy, and comforting.
Ingredients
- 2 cups elbow macaroni
- 2 cups shredded cheddar cheese
- 1 cup milk
- 2 tablespoons butter
- 1/4 teaspoon salt
- 1/4 teaspoon black pepper
Instructions
- Cook macaroni according to package instructions. Drain.
- Return macaroni to the pot. Add butter, milk, salt, and pepper.
- Stir over low heat until butter melts.
- Add shredded cheese and stir until melted and creamy.
- Transfer to a thermos immediately to keep warm.
Notes
- Use whole milk for extra creaminess.
- Add a pinch of mustard powder for extra flavor.
- Stir occasionally if keeping in the thermos for long periods.
- Prep Time: 5 minutes
- Cook Time: 10 minutes
- Category: Lunch
- Method: Stovetop
- Cuisine: American
Nutrition
- Serving Size: 1 cup
- Calories: 350
- Sugar: 5g
- Sodium: 400mg
- Fat: 15g
- Saturated Fat: 9g
- Unsaturated Fat: 4g
- Trans Fat: 0g
- Carbohydrates: 40g
- Fiber: 2g
- Protein: 15g
- Cholesterol: 45mg