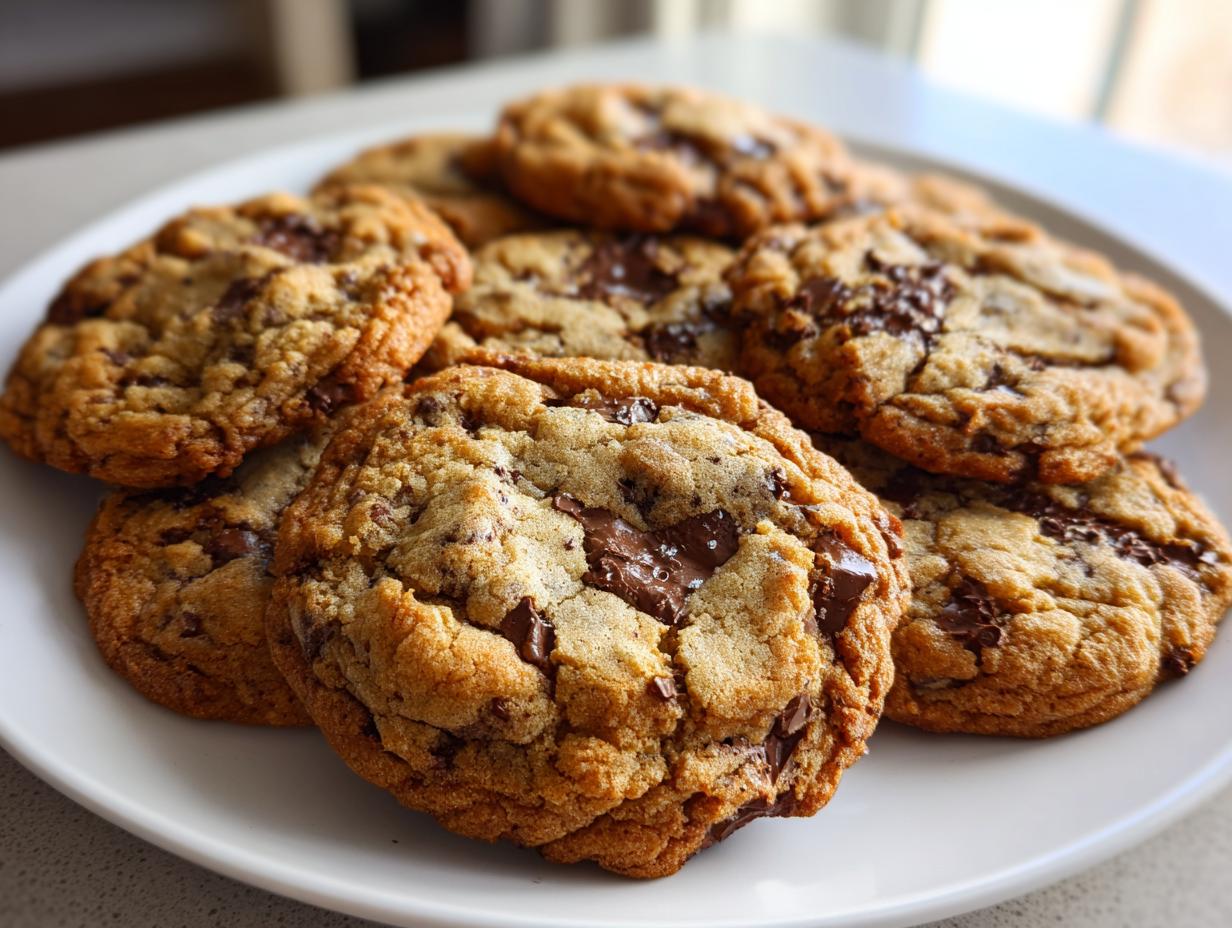
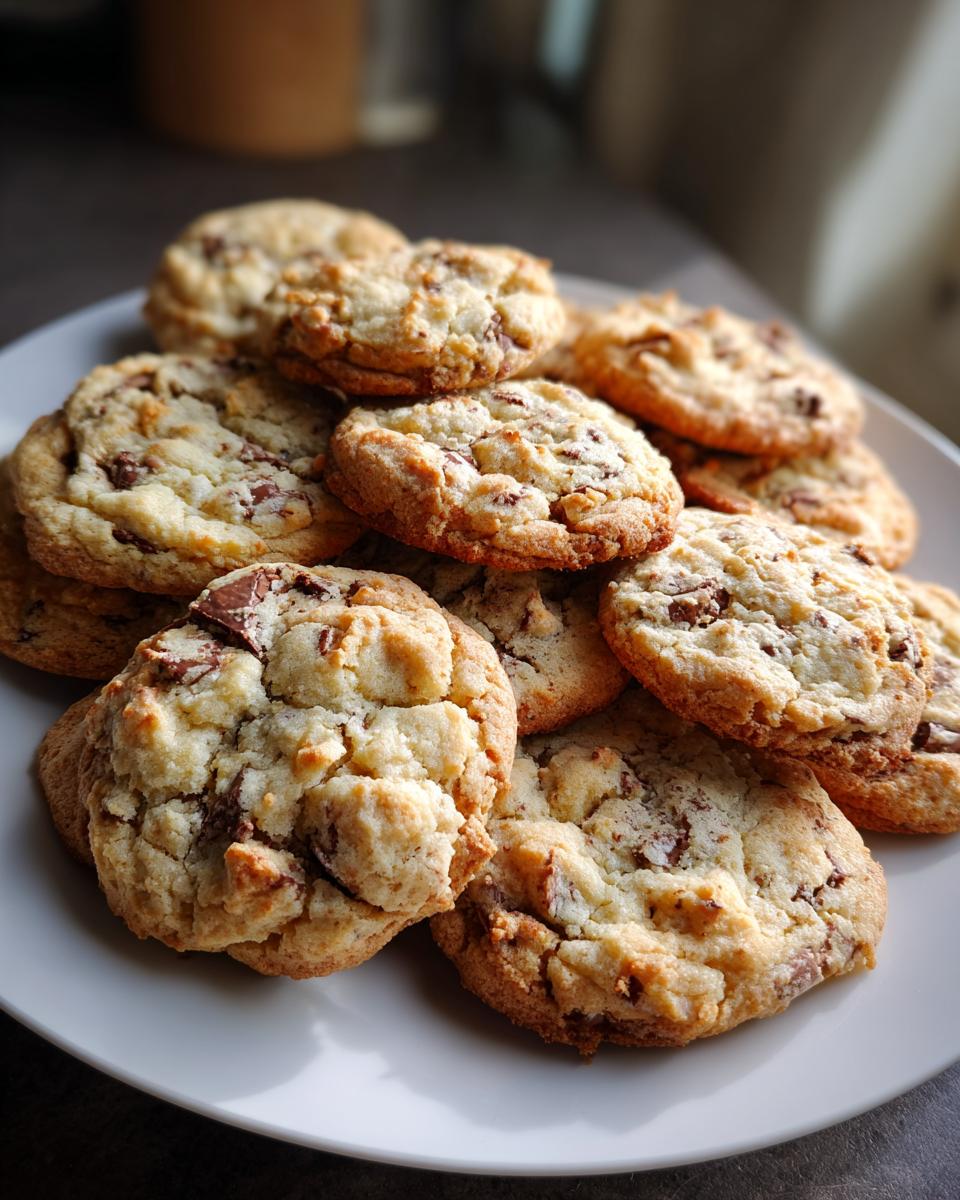
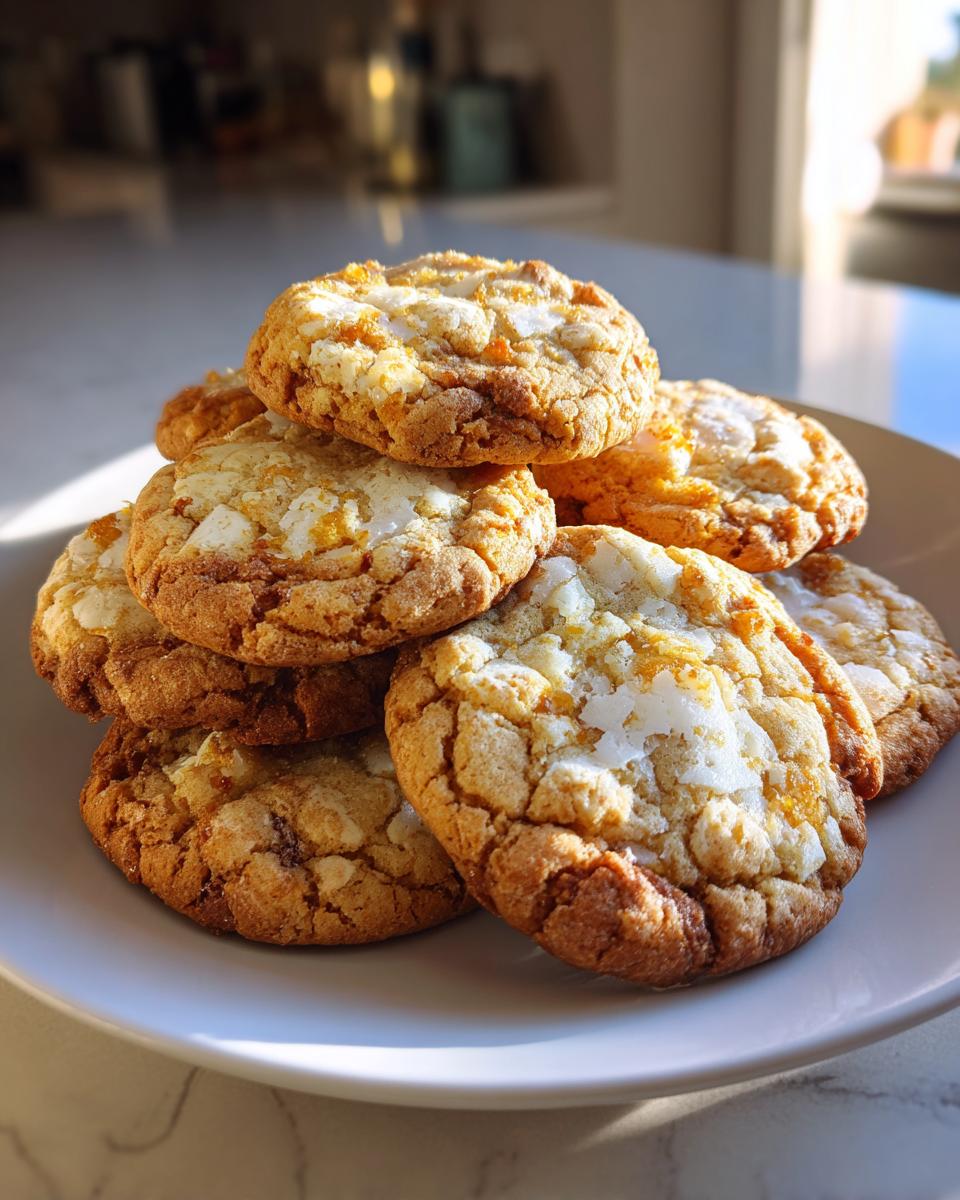
Let me tell you about the most stubborn cookies you’ll ever bake—Zombie Cookies that just won’t stay dead! These playful little treats are like the undead of the cookie world, popping back up no matter how many times you try to make them disappear (usually into your mouth, in our house). I first made these last Halloween when my kids begged for “scary cookies,” and let me tell you, the name stuck faster than frosting on a toddler’s face.
The magic of Zombie Cookies isn’t just their fun, spooky vibe—it’s how they keep their perfect chewy texture days later, like they’ve got some supernatural power. I’ll never forget my daughter’s wide eyes when she found the last one hidden in the cookie jar a week later, still soft and delicious. “Mom! It’s alive!” she screamed, before happily devouring it. That’s when I knew this recipe had to be shared.
Perfect for Halloween parties or just when you want cookies that stick around (literally), these Zombie Cookies combine classic vanilla sweetness with a fun twist that makes baking feel like an adventure. Grab your apron—we’re about to bring some deliciousness back from the dead!
Ingredients for Zombie Cookies
Here’s what you’ll need to resurrect these delicious little monsters in your kitchen. Trust me, the simple ingredients are what make these cookies so dangerously easy to bake—and eat!
- 1 cup all-purpose flour (spooned and leveled, not packed!)
- 1/2 cup granulated sugar (the zombie’s energy source)
- 1/4 cup unsalted butter, softened (about 30 minutes out of the fridge)
- 1 large egg (room temperature works best)
- 1 teaspoon pure vanilla extract (the secret soul of these cookies)
- 1/2 teaspoon baking powder (their rising-from-the-dead agent)
That’s it! No fancy ingredients needed—just like all the best recipes my grandma taught me. I’ll let you in on a little secret: using real butter instead of margarine makes all the difference in giving these cookies their supernatural staying power.
How to Make Zombie Cookies
Okay, let’s bring these undead cookies to life! I promise it’s easier than it sounds—just follow these steps and you’ll have a batch of deliciously persistent treats in no time.
First, preheat your oven to 350°F (175°C). Trust me, you want that oven nice and hot before the cookies go in—it’s what gives them their perfect rise.
In a medium bowl, whisk together your flour, sugar, and baking powder. I like to sift mine to avoid any lumpy surprises, but a good stir with a fork works too!
Now the fun part—in a separate bowl, cream together the butter and sugar until it’s light and fluffy. I use a hand mixer, but a strong arm and a wooden spoon work just fine. Add the egg and vanilla, mixing until everything’s perfectly combined.
Slowly add your dry ingredients to the wet mixture, stirring just until no flour streaks remain. Overmixing is the enemy of tender cookies! The dough should be soft but not sticky—if it clings to your fingers, chill it for 15 minutes.
Baking Your Zombie Cookies
Drop tablespoon-sized dollops onto your baking sheet (I line mine with parchment because cleanup is scary enough!). Bake for 10-12 minutes until just golden around the edges but still soft in the center. They’ll firm up as they cool, so don’t wait for them to look “done” done. Rotate the pan halfway through for even browning if your oven runs hot like mine!
Why You’ll Love These Zombie Cookies
Let me count the ways these little undead treats will steal your heart (and maybe haunt your cookie jar):
- Super easy to make – No fancy skills needed, just mix, drop, and bake! Perfect for when you need last-minute treats.
- Party favorite – These are the life (or afterlife?) of any Halloween bash or spooky movie night.
- Kid-approved magic – My little monsters go wild for the fun “zombie” theme and love helping decorate them.
- Endlessly customizable – Add food coloring, sprinkles, or even chocolate chip “wounds” to make them your own.
- Persistent perfection – Just like real zombie cookies, they stay deliciously soft for days (if they last that long!).
Honestly, the hardest part about these cookies is pretending you don’t want to eat the whole batch yourself!
Zombie Cookies Tips for Success
After baking countless batches of these undead treats (and learning from my mistakes!), here are my hard-won zombie cookie secrets:
- Chill that dough if it’s too sticky – 15 minutes in the fridge makes it easier to handle without losing that perfect chewiness.
- Parchment paper is your best friend – No more zombie cookies stuck to the pan like they’re clinging to life!
- Underbake slightly – Pull them out when edges are just golden but centers look soft. They’ll firm up as they cool into that ideal texture.
- Let them rest – I know it’s hard, but wait at least 5 minutes before moving them to a rack. Hot zombie cookies are fragile!
The biggest mistake? Overmixing the dough – stir just until combined unless you want tough little cookie zombies!
Zombie Cookies Variations
Here’s where the real fun begins – giving your zombie cookies some extra undead personality! My kids love when we play mad scientist with these variations:
- Green zombie skin – Add a few drops of green food coloring to the dough for classic monster appeal
- Bloodshot eyes – Press red M&Ms or chocolate chips into warm cookies right after baking
- Graveyard crunch – Mix in crushed Oreos for “dirt” texture
- Bone shapes – Roll dough into thin ropes and form into X shapes before baking
- Spooky sparkle – Roll dough balls in black or orange sprinkles before baking
Last Halloween, we even made some with white chocolate “bandages” drizzled across them – the messier, the better for that authentic zombie look!
Storing and Freezing Zombie Cookies
Want your Zombie Cookies to keep rising from the dead? Here’s how to preserve their mojo! At room temperature, they’ll stay fresh in an airtight container for up to 5 days (if they last that long!). For longer storage, freeze them in freezer bags – they’ll haunt your freezer happily for 3 months! Just thaw at room temperature or pop them in a 300°F oven for 5 minutes to revive that fresh-baked magic.
Zombie Cookies Nutritional Information
Okay, let’s be real – we’re not eating zombie cookies for their health benefits! But for those who like to know, here’s the nutritional breakdown per cookie (based on my exact recipe): about 80 calories, 5g sugar, and 3g fat. Remember – these values can rise from the dead (aka change) depending on your exact ingredients. My advice? Enjoy a couple undead treats guilt-free – life’s too short to count calories when there are zombies involved!
Zombie Cookies FAQs
I get asked about these undead treats all the time—here are the answers to the questions that keep crawling back up!
Can I use margarine instead of butter?
Technically yes, but trust me—real butter gives Zombie Cookies their signature texture and staying power. Margarine makes them spread more and lose that perfect chewiness. Grandma always said “butter or bust!”
How long do Zombie Cookies last?
In an airtight container, they’ll stay fresh about 5 days at room temperature. After that, they’re still edible but start losing their mojo. Unless, of course, you freeze them—then they’ll haunt your freezer happily for months!
Can I make gluten-free Zombie Cookies?
Absolutely! Swap the all-purpose flour for your favorite 1:1 gluten-free blend. The texture comes out slightly different but still delicious—I’ve made them this way for my niece who has celiac disease.
Why do my Zombie Cookies spread too much?
Usually means your butter was too soft or oven wasn’t hot enough. Chill the dough for 15 minutes before baking and make sure your oven’s properly preheated—problem solved!
Share Your Zombie Cookies Creations
Did you bring these undead treats back to life in your kitchen? I’d love to see your zombie masterpieces! Tag me @SpookyBaker on Instagram or TikTok so we can all admire your creepy-cute cookie creations. Bonus points for the most creatively decorated undead cookies—my kids will help pick the winner!
For more baking inspiration, check out our Pinterest page!
Print
Undead Delight: 5 Secret Steps to Perfect Zombie Cookies
- Total Time: 22 mins
- Yield: 24 cookies 1x
- Diet: Vegetarian
Description
Brief description of Zombie Cookies, a type of cookie that persists even after deletion attempts.
Ingredients
- 1 cup flour
- 1/2 cup sugar
- 1/4 cup butter
- 1 egg
- 1 tsp vanilla extract
- 1/2 tsp baking powder
Instructions
- Preheat oven to 350°F (175°C).
- Mix flour, sugar, and baking powder in a bowl.
- Cream butter and sugar together, then add egg and vanilla.
- Combine wet and dry ingredients.
- Drop spoonfuls onto a baking sheet.
- Bake for 10-12 minutes.
Notes
- Store in an airtight container.
- Can be frozen for later use.
- Prep Time: 10 mins
- Cook Time: 12 mins
- Category: Dessert
- Method: Baking
- Cuisine: American
Nutrition
- Serving Size: 1 cookie
- Calories: 80
- Sugar: 5g
- Sodium: 30mg
- Fat: 3g
- Saturated Fat: 1.5g
- Unsaturated Fat: 1g
- Trans Fat: 0g
- Carbohydrates: 12g
- Fiber: 0.5g
- Protein: 1g
- Cholesterol: 10mg


